Showing posts with label Crafty Corner. Show all posts

Thursday, April 19, 2018

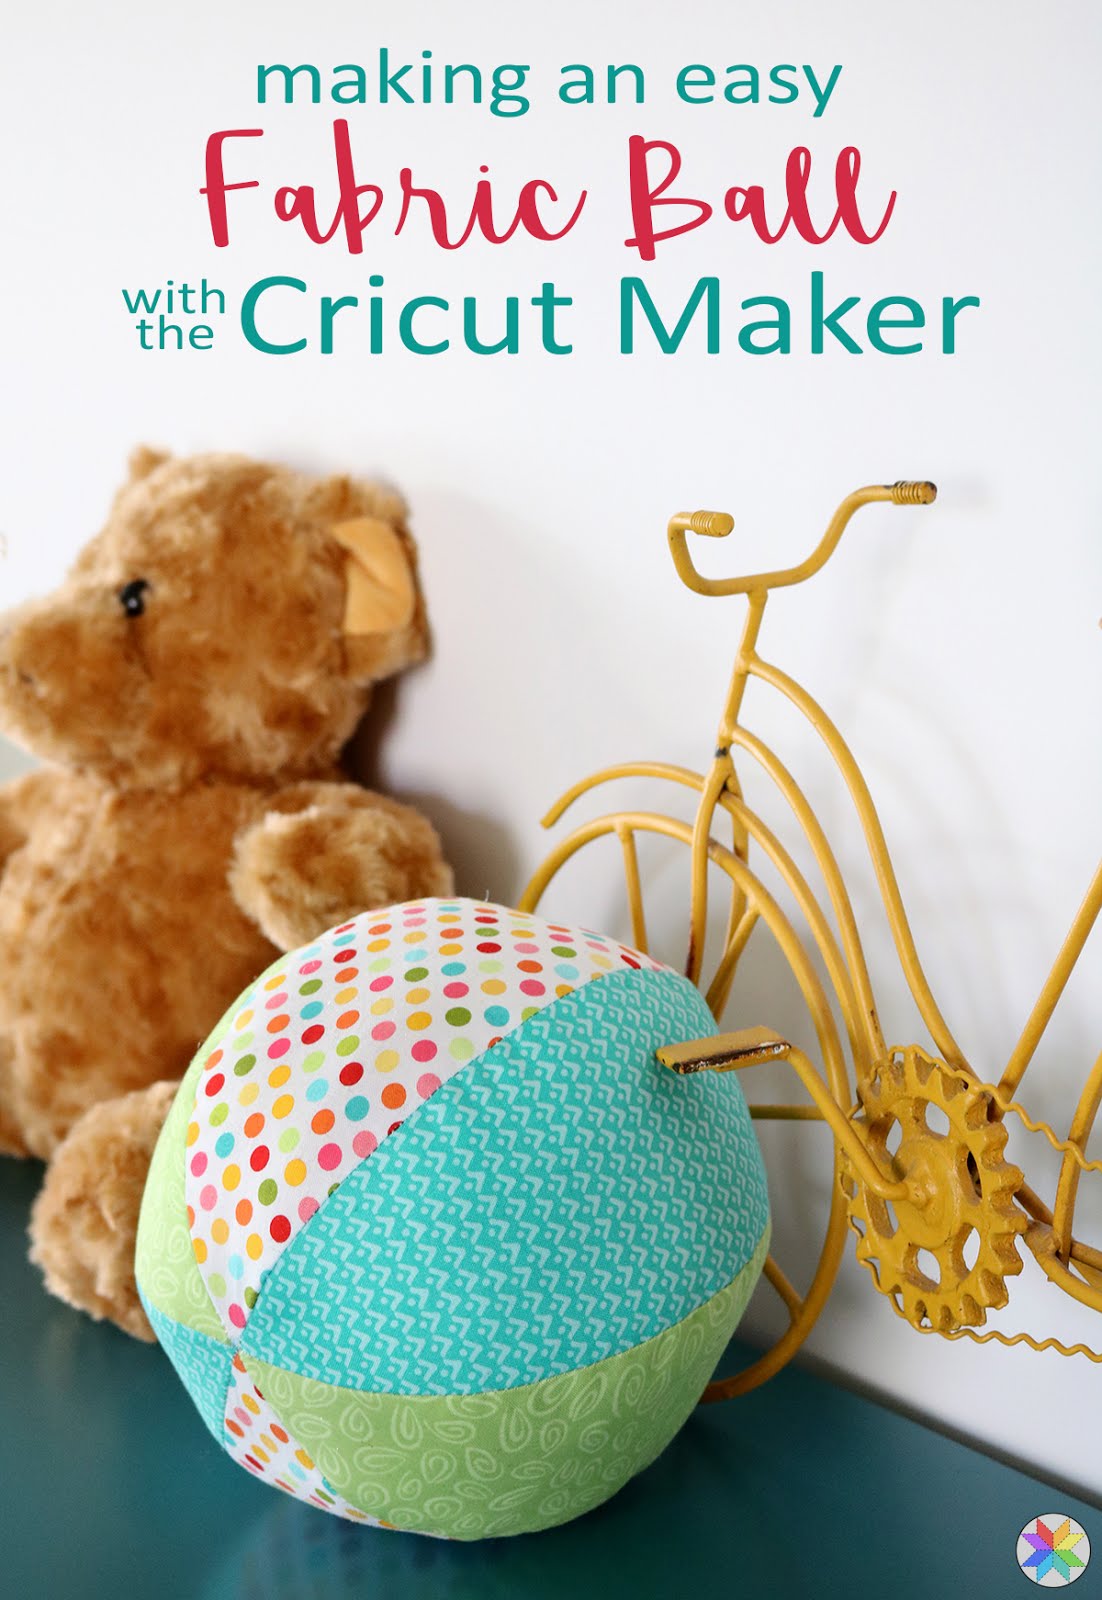
Making an Easy Fabric Ball with the Cricut Maker

This post is sponsored by Cricut.  All thoughts and opinions are my own.  Post may also contain affiliate links.

This week I've been playing and experimenting with an electric cutting machine called the Cricut Maker and it's been so fun!  I've done just a couple of small projects on it so far but already I have a long list of things to try.  Today I wanted to share a little of what I know about it, and what it can do!
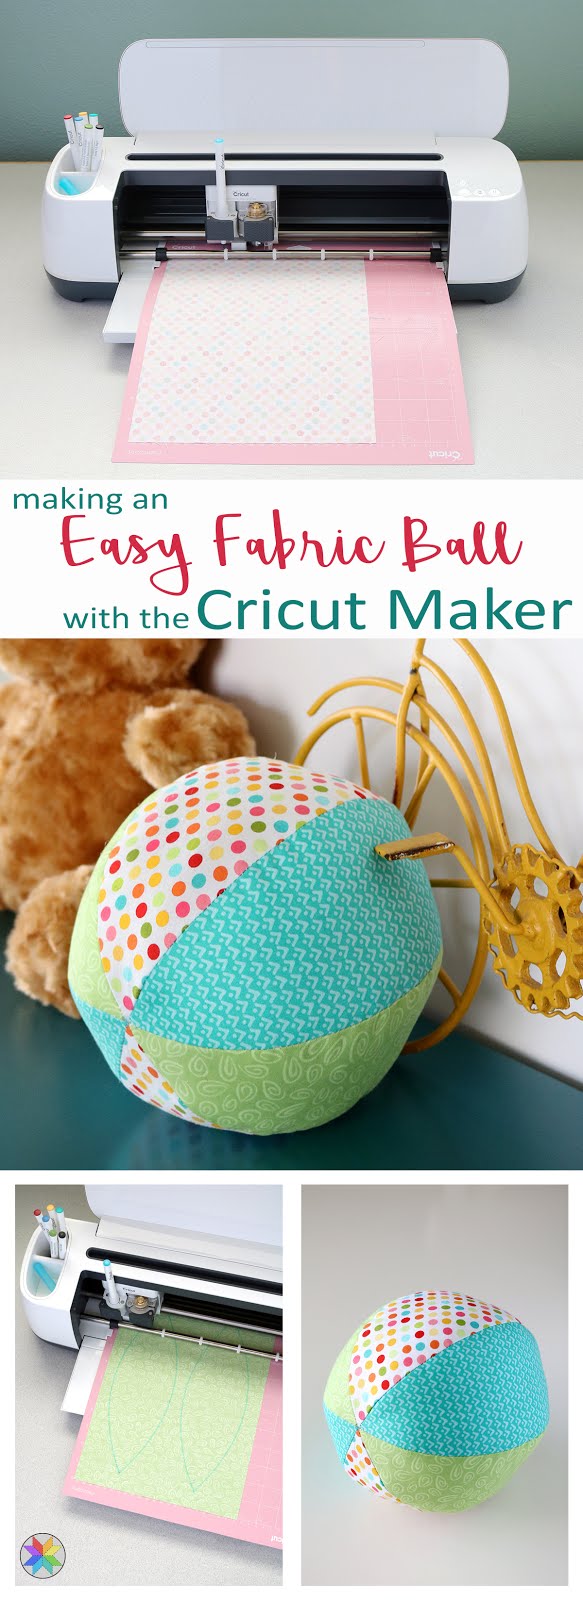
Making an easy fabric ball with the Cricut Maker

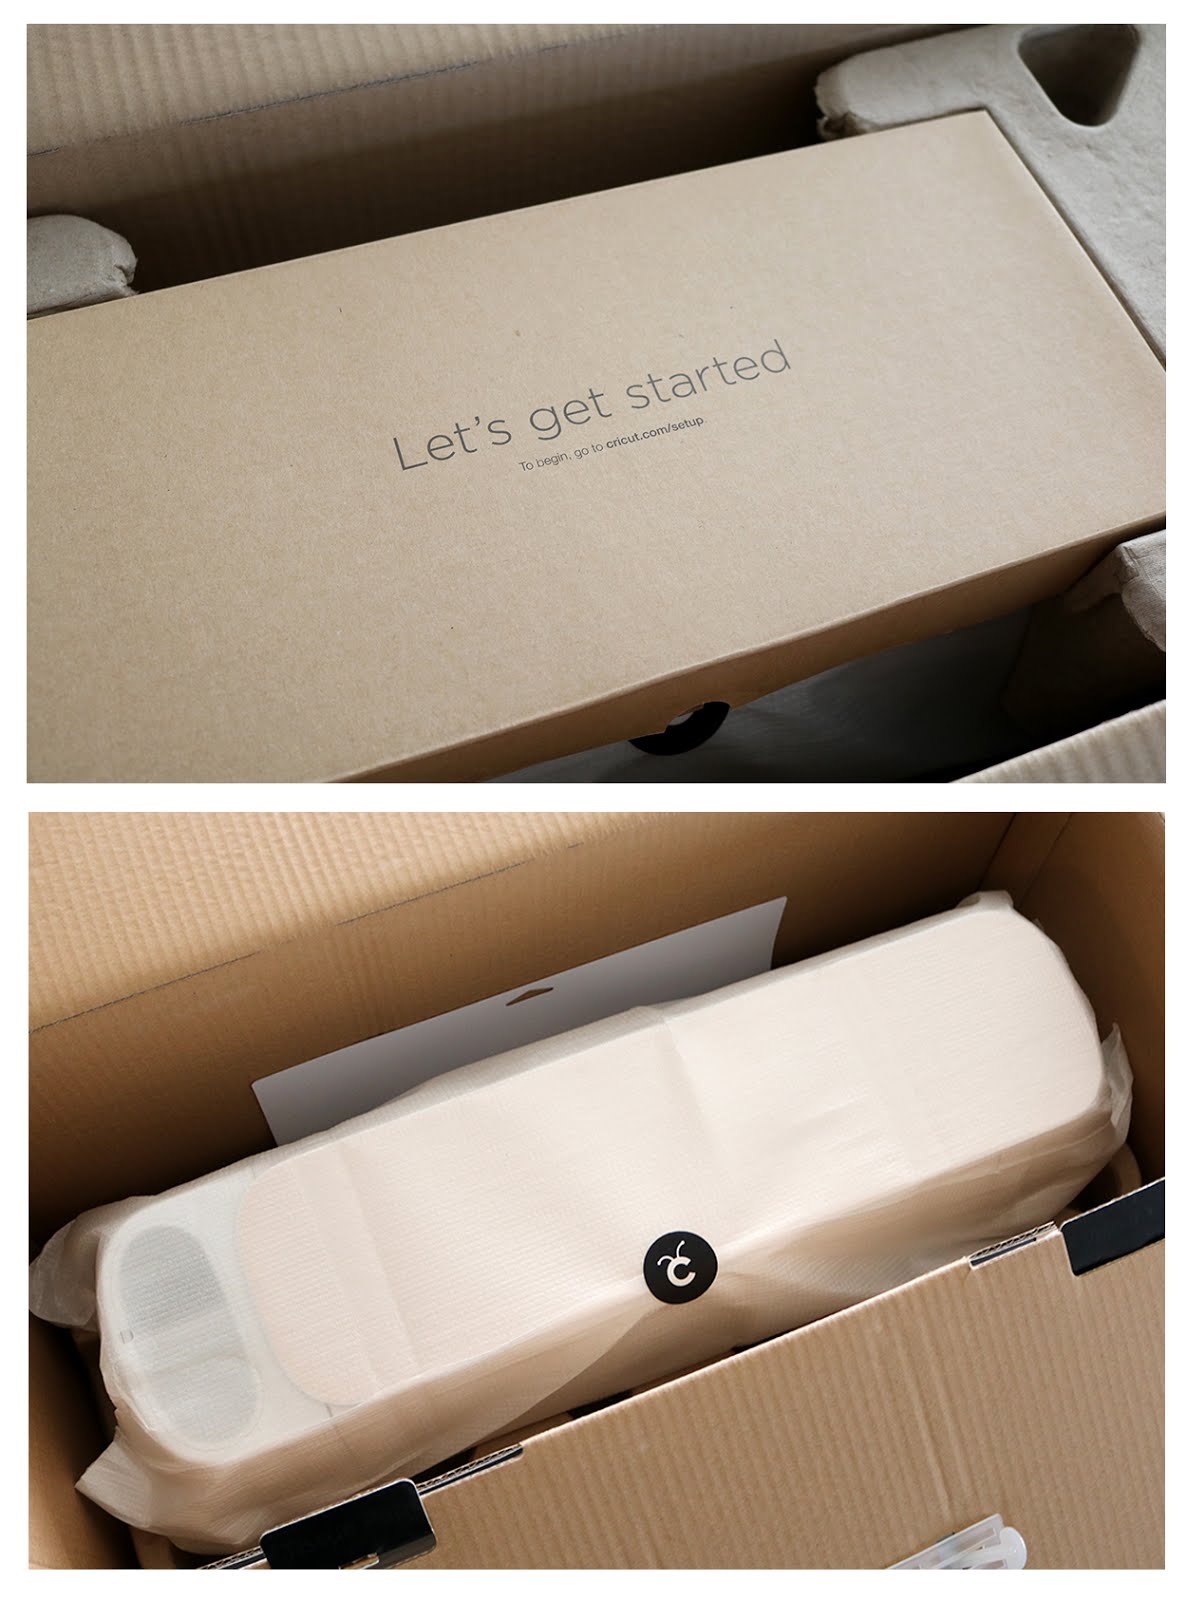
First of all, the packaging is beautiful!  I love that as soon as you open the box you're greeted with the supplies and instructions stepping you through your first project.  I felt like someone was sitting right next to me holding my hand through the whole process- and I was so grateful!  

One big bonus for me with this machine was that no extra cutting dies are needed - everything is digital.  

Within just a few minutes I had the Cricut Maker connected by USB to my desktop computer and the Cricut Design Space software was up and running.  You can also connect it to a phone or tablet by bluetooth - now THAT will be handy!
Exploring the new Cricut Maker machine
As you make the first little greeting card project, you're taught the basics of using the software, opening a project, loading the mat and cutting blades, and cutting a couple of mats of paper & fabric.  

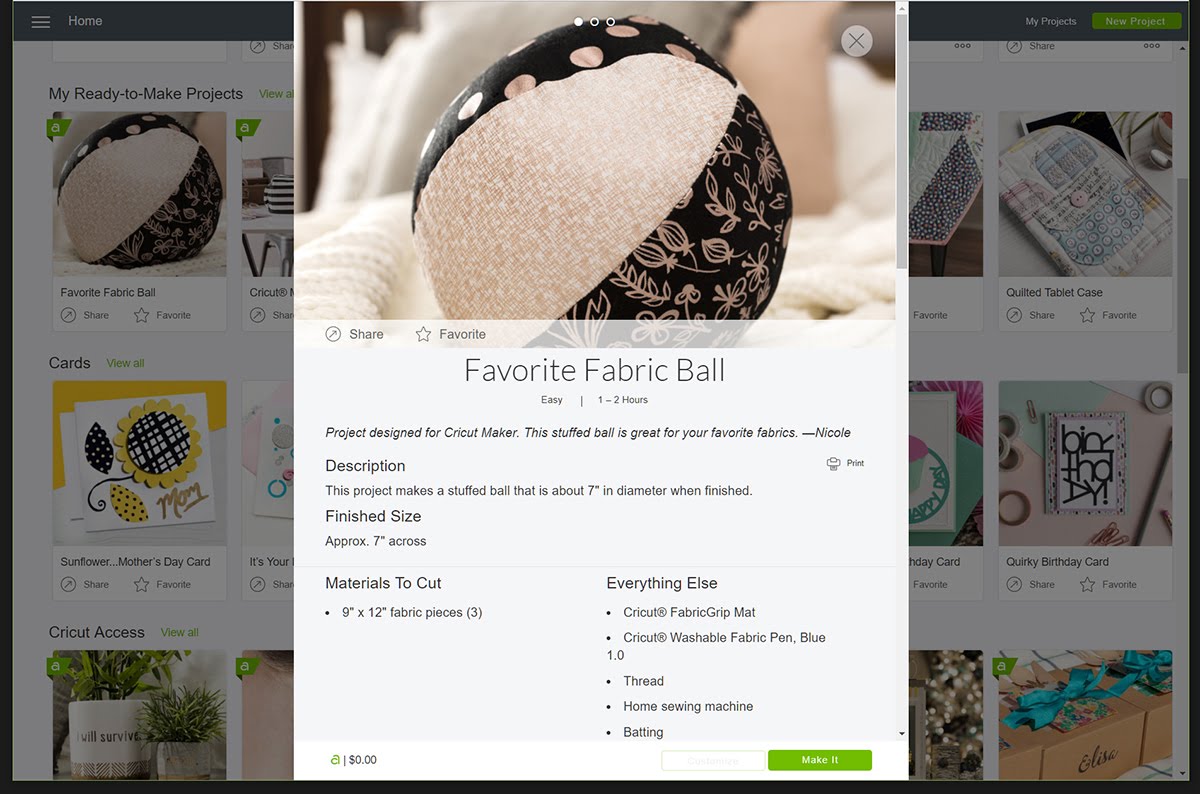
By the time I finished that first project, I felt confident enough to try anything! I browsed through the other free project ideas and thought I'd try making this fabric ball. 
Making an easy fabric ball with the Cricut Maker

I could use the instructions right from my screen, or print it out to be able to refer to it that way.  It told me exactly what I needed - including what Cricut supplies I'd use. 

With the Cricut Maker you get access to a whole library of hundreds of patterns from companies like Riley Blake and Simplicity.  Some are free and some may cost a few dollars.  So many projects to choose from- or you can create your own!
Making an easy fabric ball with the Cricut Maker

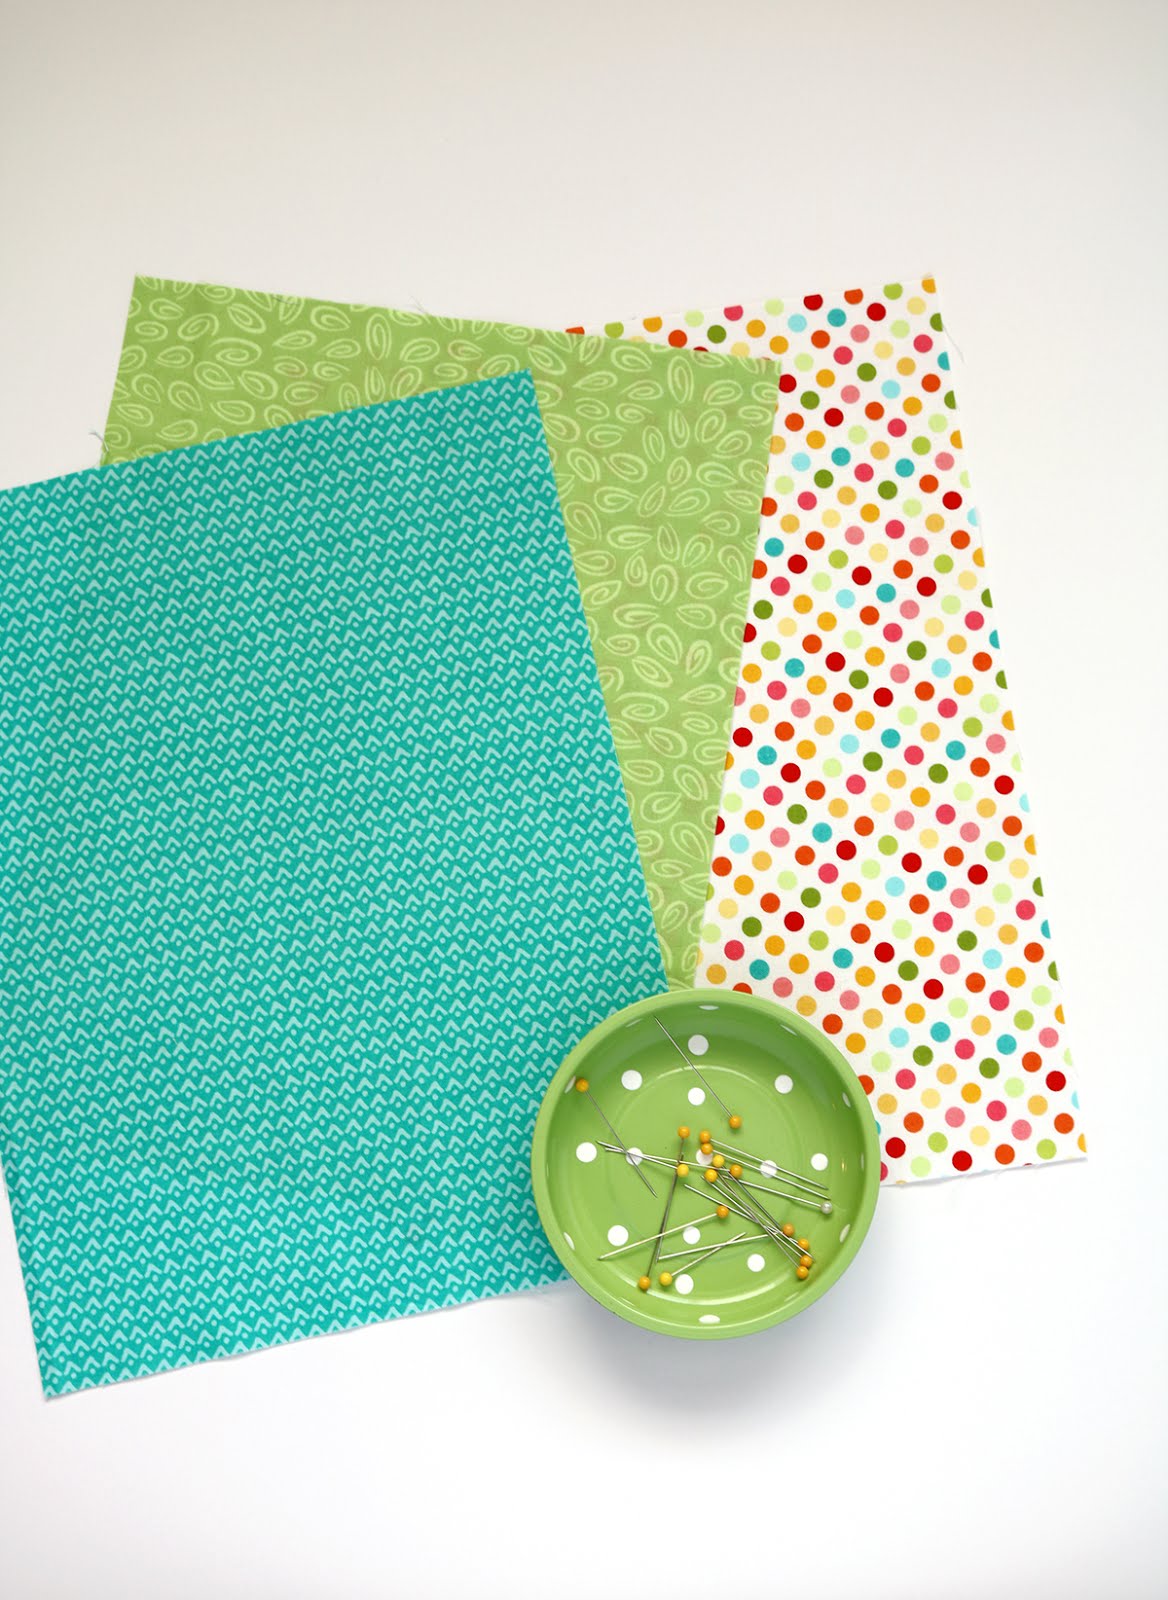
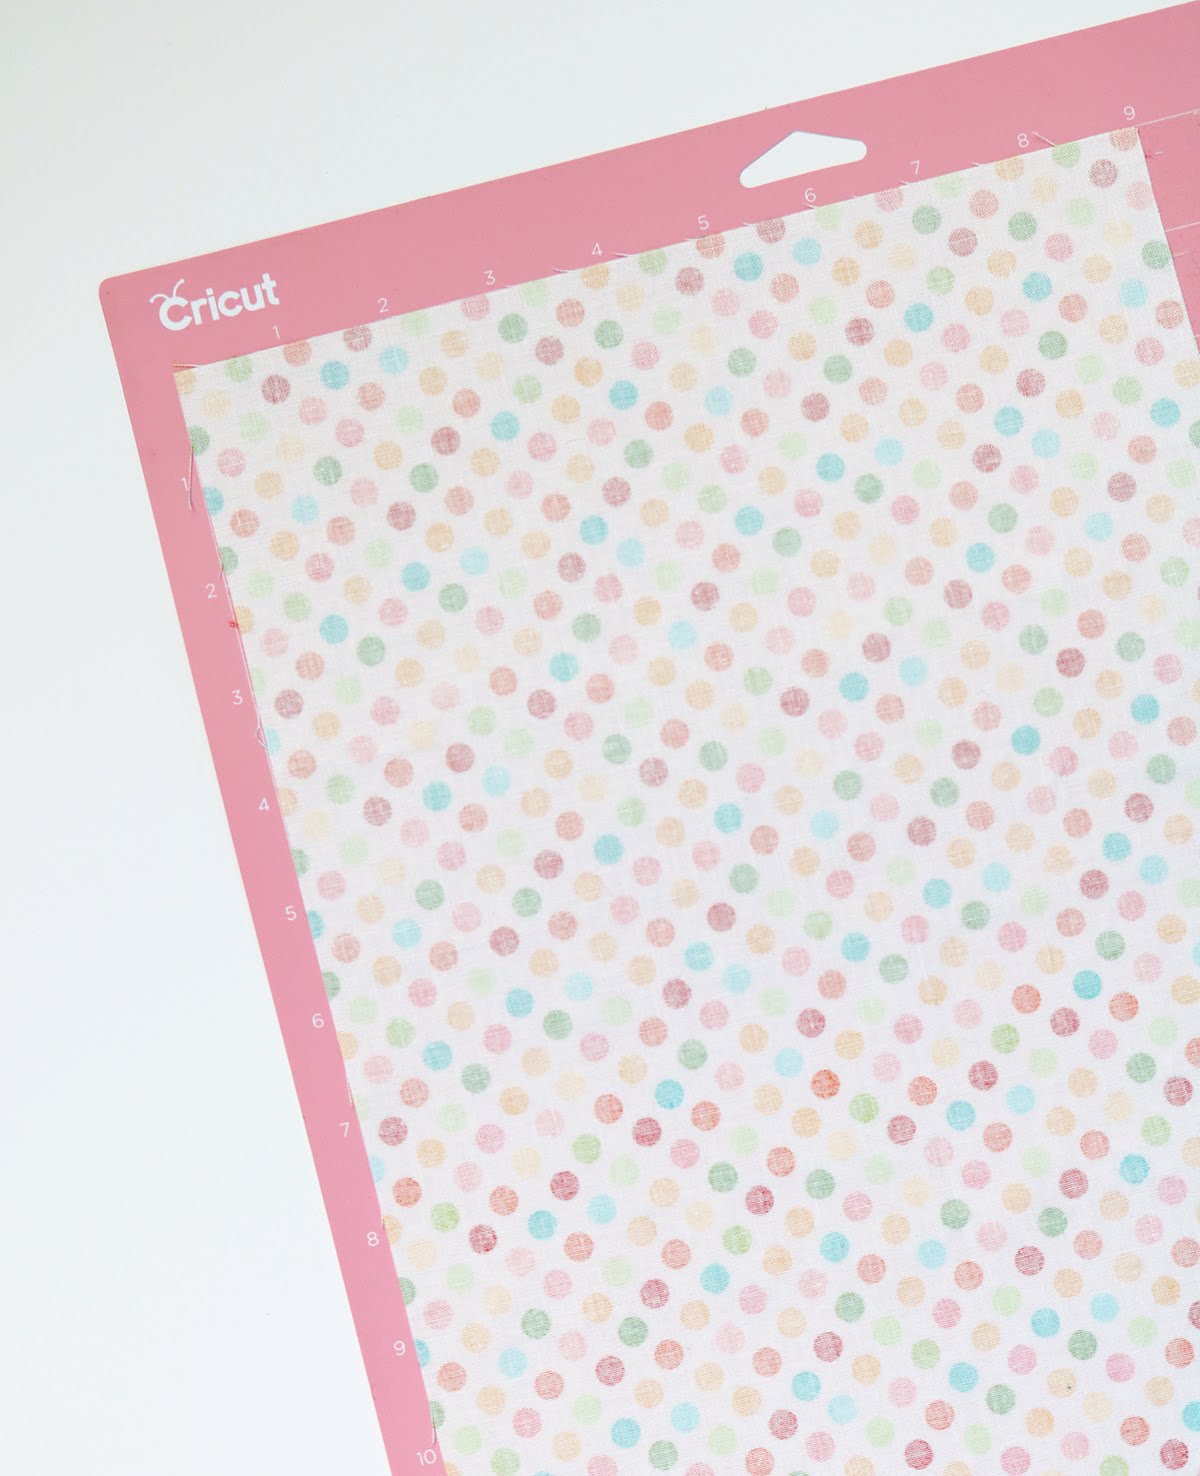
For the ball I only needed three fabrics, 9" x 12".  I placed the first fabric right side down onto the FabricGrip cutting mat.  It's just slightly sticky so that the fabric doesn't shift - but it's still easy to remove once the cutting is done, and doesn't leave any residue on the fabric. 
Making an easy fabric ball with the Cricut Maker

The machine uses a small rotary cutter blade that does a fantastic job cutting the fabric.  That innovative tool is the reason why the Cricut Maker can cut regular cotton fabric without needing a stabilizer or interfacing (such as Heat n Bond).  You can also cut different weights of fabric such as denim and silk.  

This photo below is from the Cricut Design Space.  You can see on the left side that I needed to cut three mats.  In the center screen it shows me the different fabrics I can choose from.  Depending on what I choose, the machine will automatically adjust the height and pressure of the blade!  
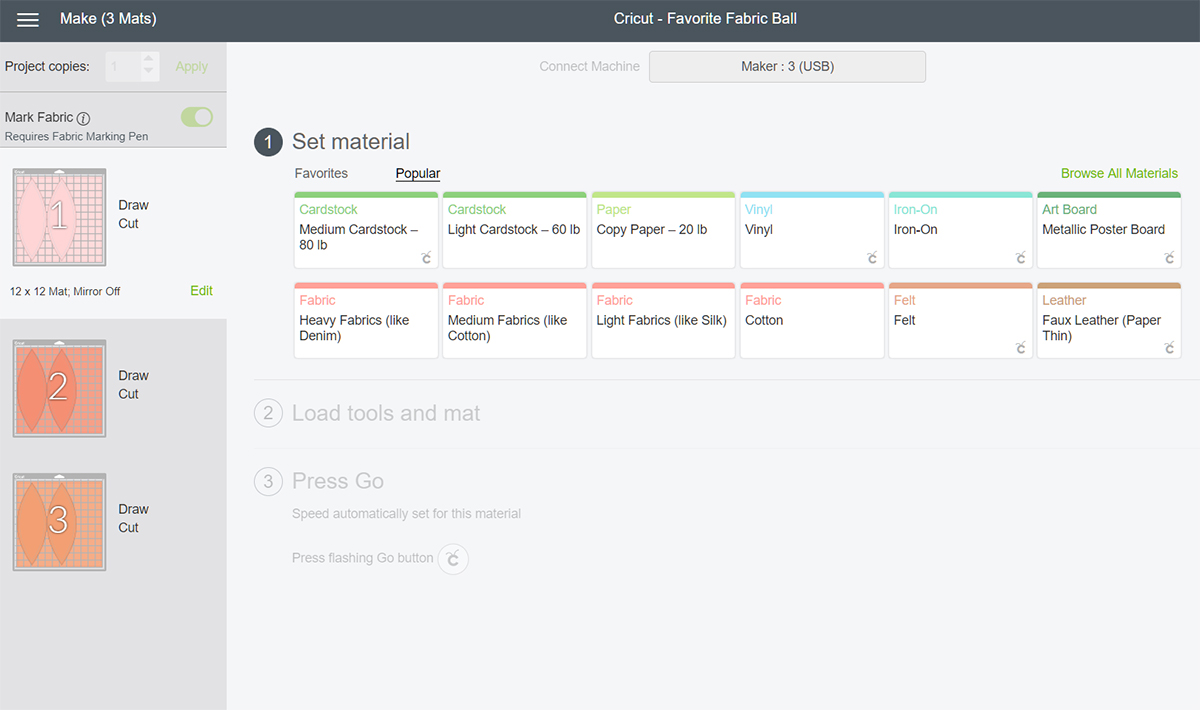
Cricut Maker Design Space

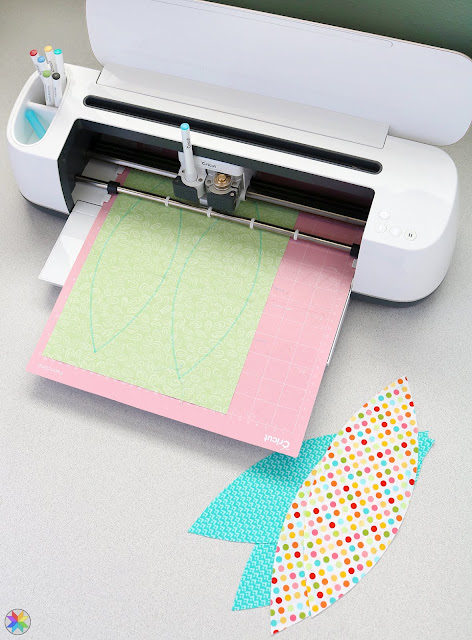
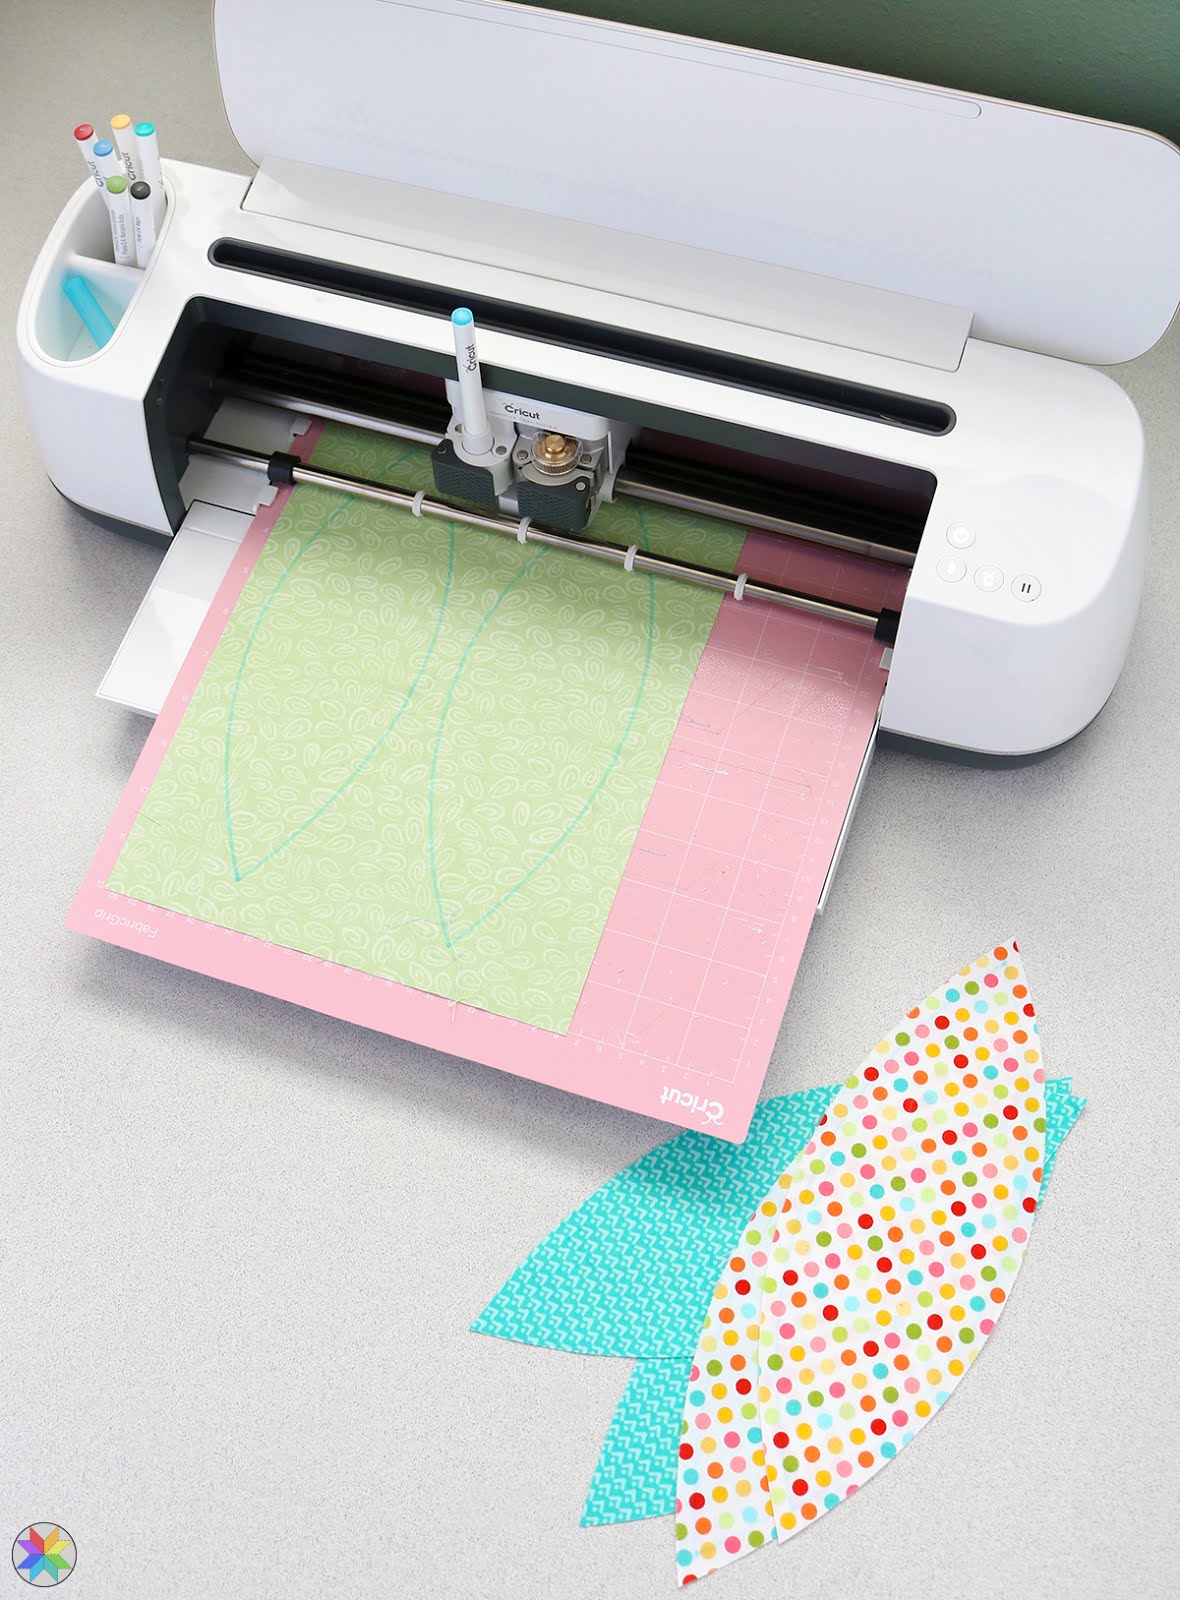
For this project, the Cricut first marked blue lines with the washable fabric marking pen, and then (without me doing anything!) it went back over the same fabric and cut the pieces using the rotary cutter.  
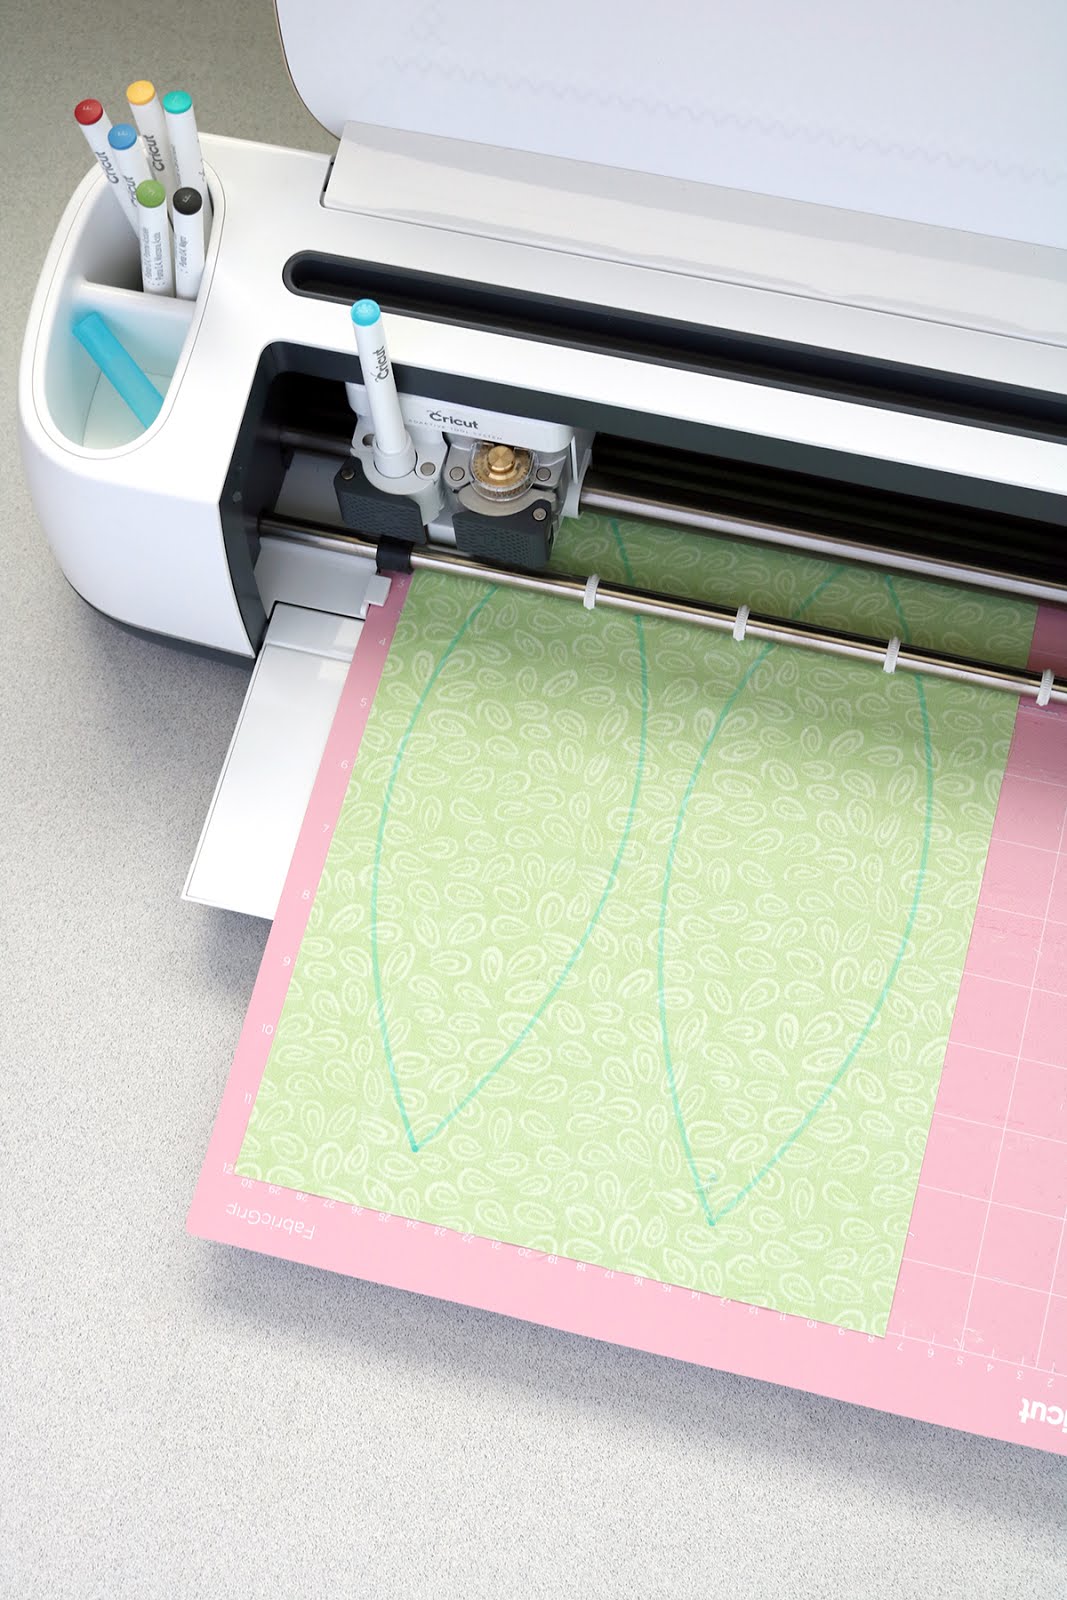
Making an easy fabric ball with the Cricut Maker

You can see in the image above that there are spots for two different tools - on the right is the small rotary cutter and on the left is a washable fabric marking pen.  Both of these tools can be swapped out for other ones - such as a variety of pens, a knife blade and a scoring stylus - all depending on the project!
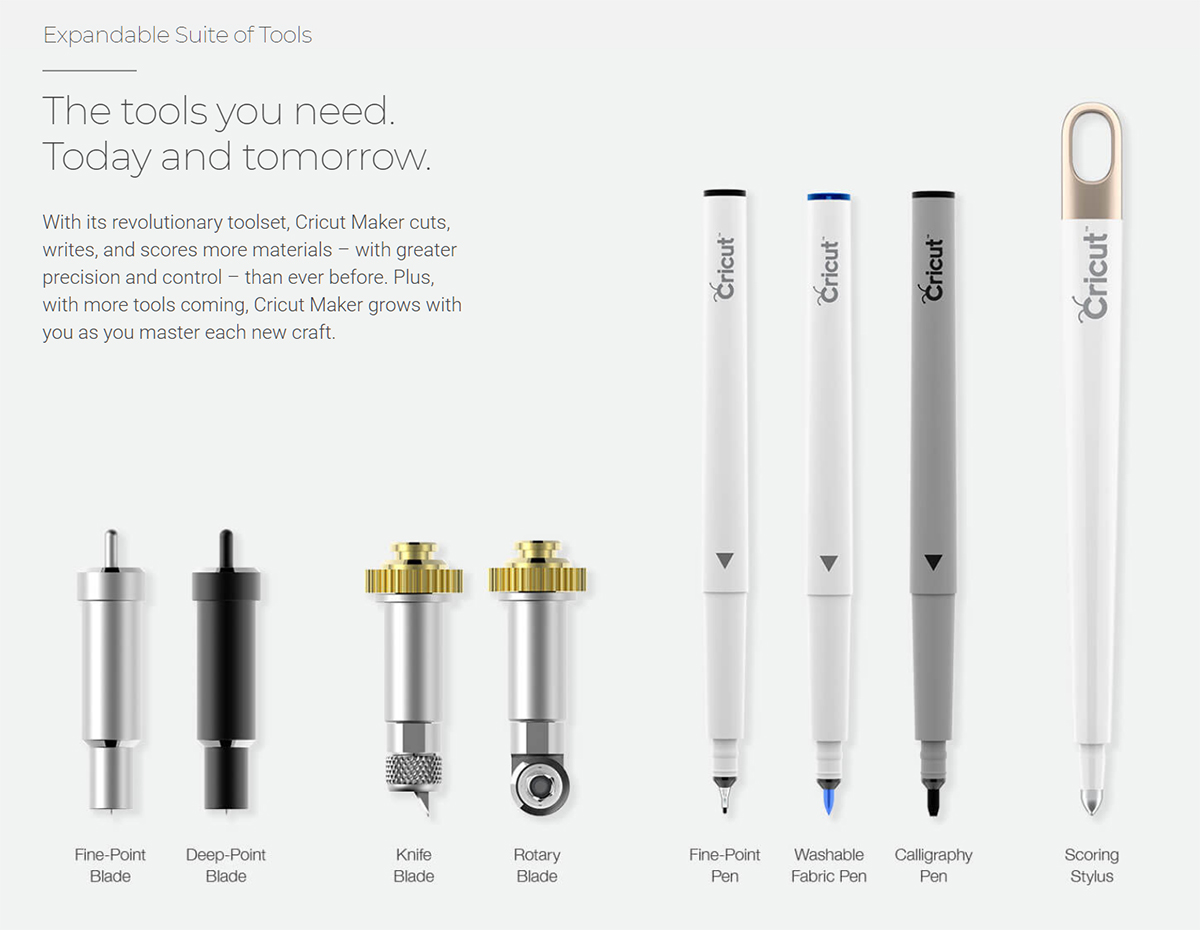
Making an easy fabric ball with the Cricut Maker

Once the cutting is complete, simply peel up the fabric and it comes right off the mat.  That was the funnest part for me-  and to be honest, it felt a little magical. 
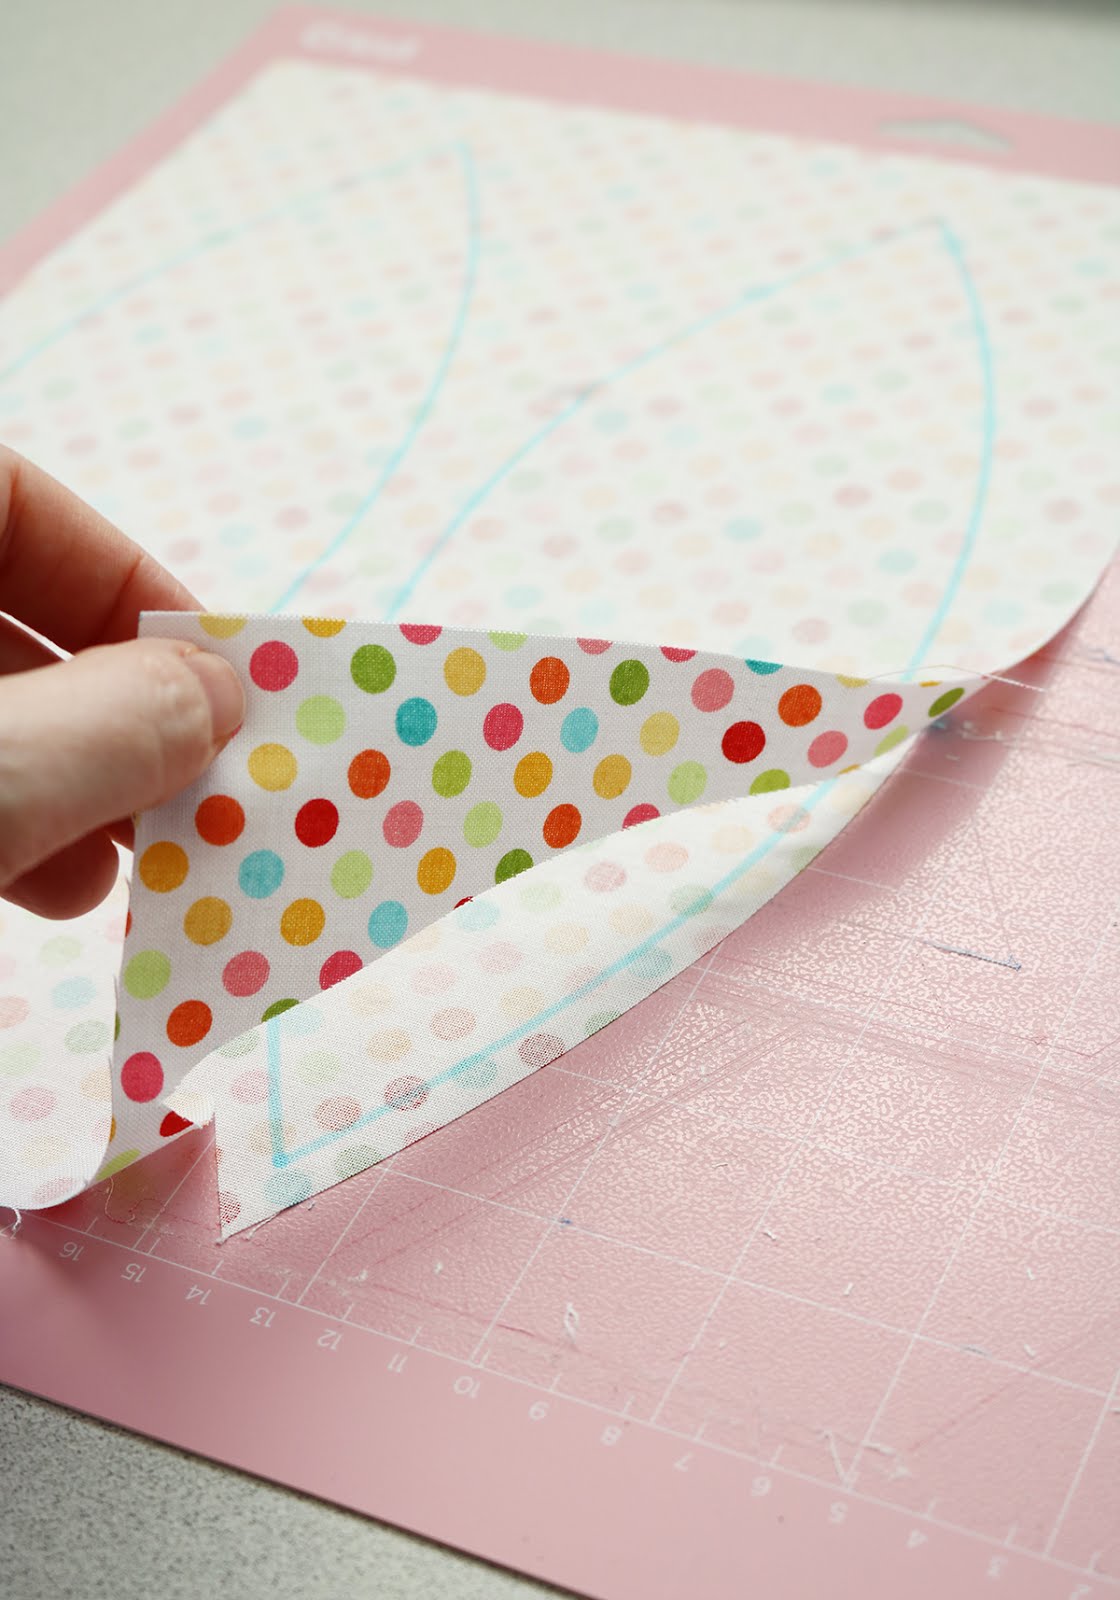
Making an easy fabric ball with the Cricut Maker

It took only maybe 4-5 minutes for the machine to cut all of the pieces out, and once they were cut it was time for sewing!
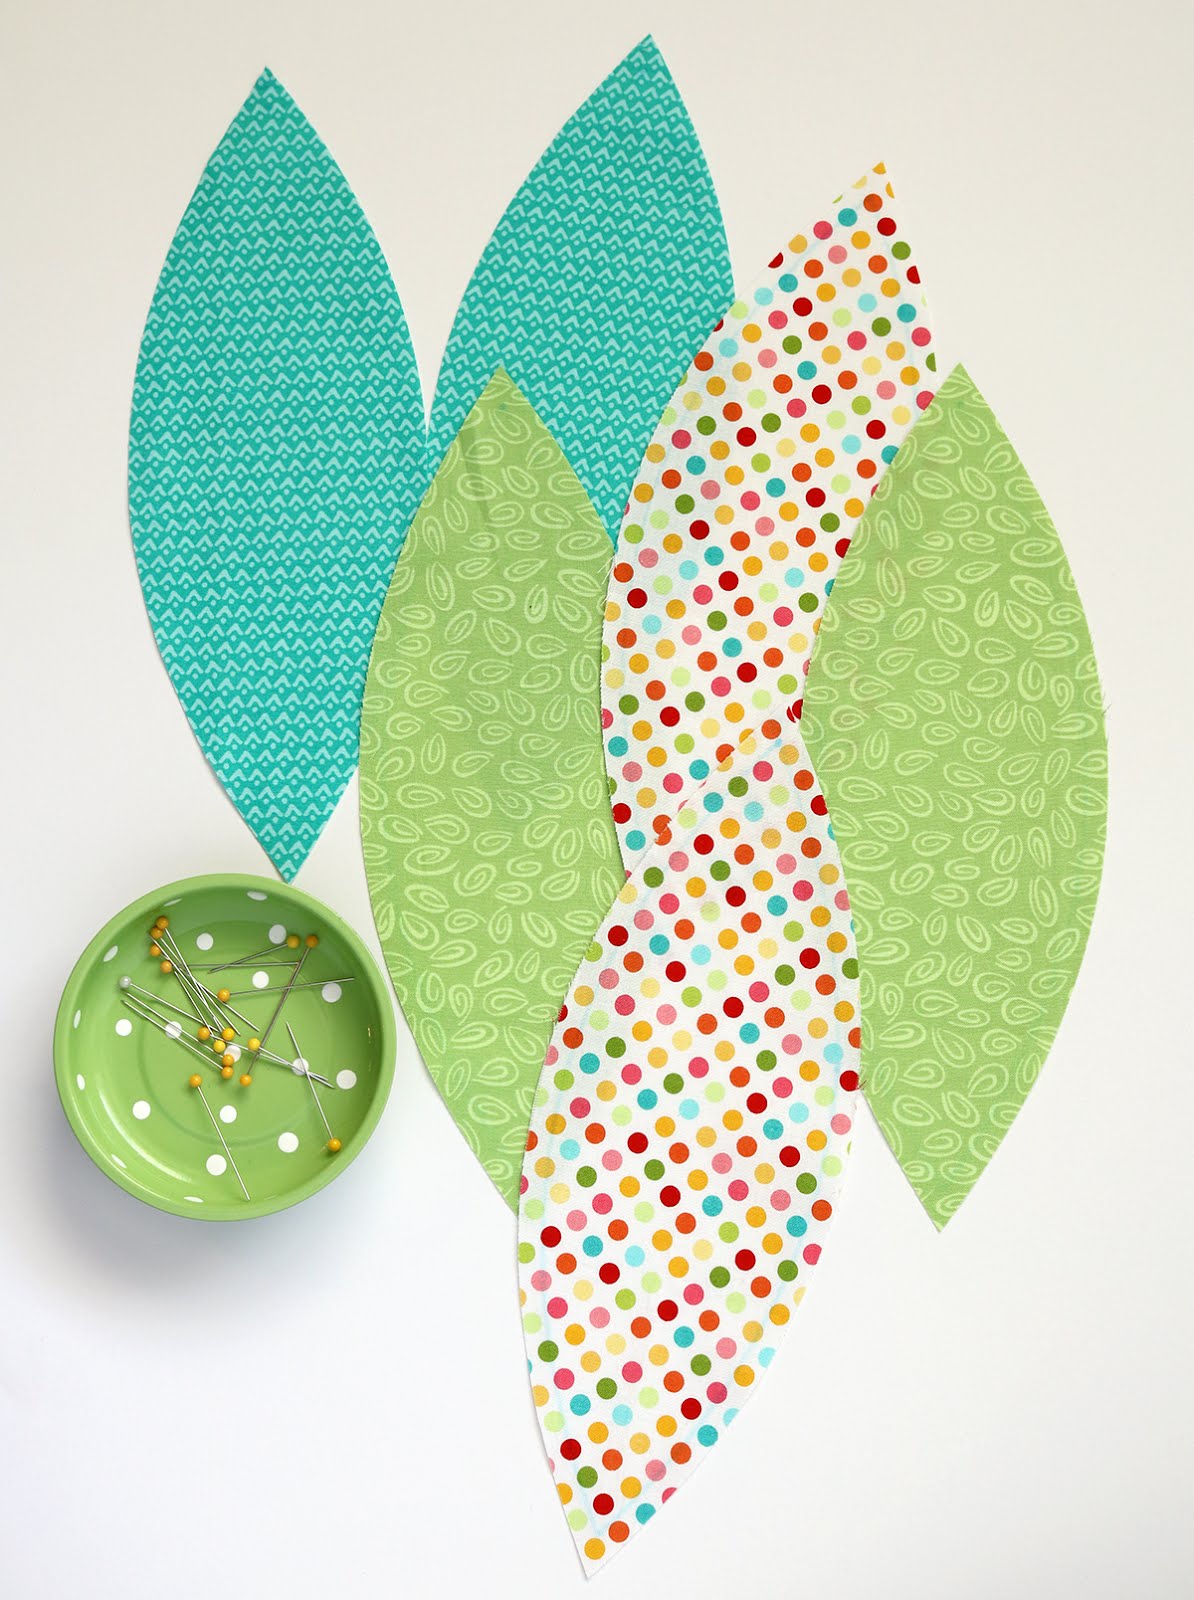
Making an easy fabric ball with the Cricut Maker

Now this is where the blue marked lines come in really handy!  I pinned my pieces together and then just stitched right on the blue lines.  I knew exactly where to start and stop stitching, and that helped the ends of the ball turn out beautifully! 
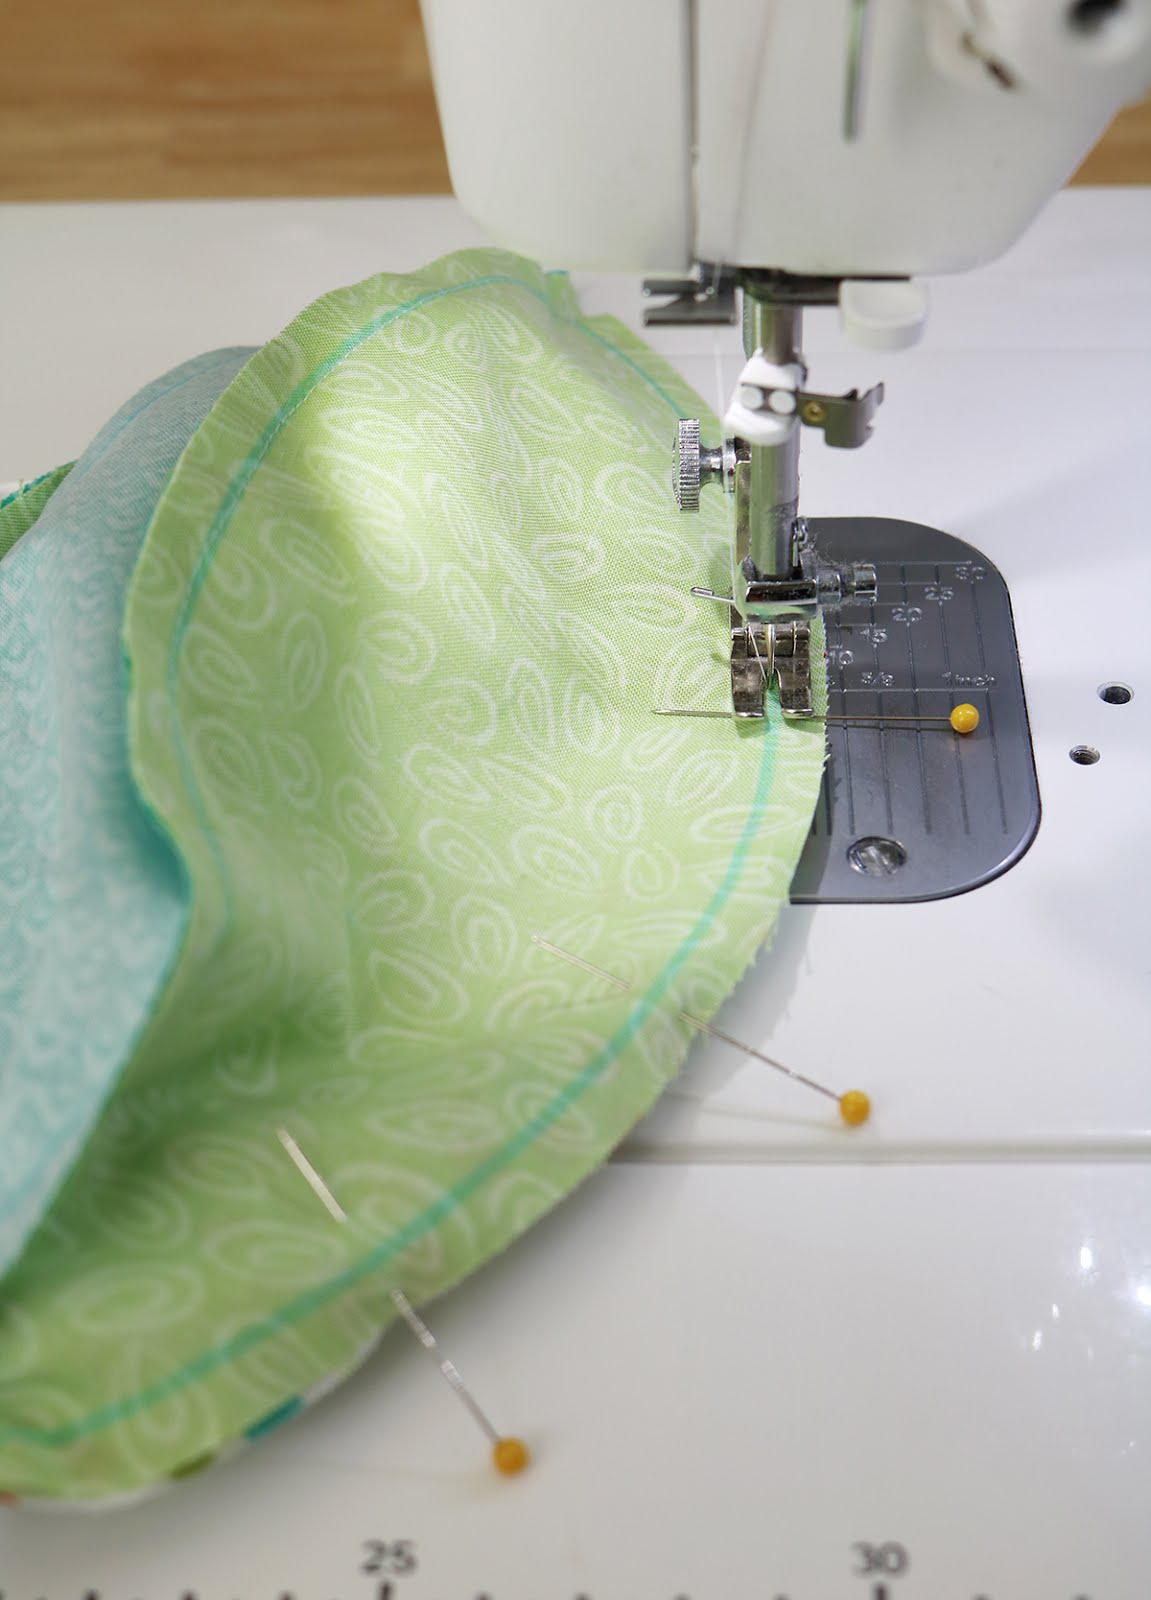
Making an easy fabric ball with the Cricut Maker

Within about 90 minutes I had a finished ball!

To be honest, I never would have attempted a project like this before because it would have been a challenge to accurately cut the curved pieces needed.  Plus if the seam allowance is off at all then the points won't match up so nicely at the top and bottom of the ball.  I just imagined it to be one big frustrating mess.  Using the Cricut Maker to cut and mark everything though, removed the frustrations. 
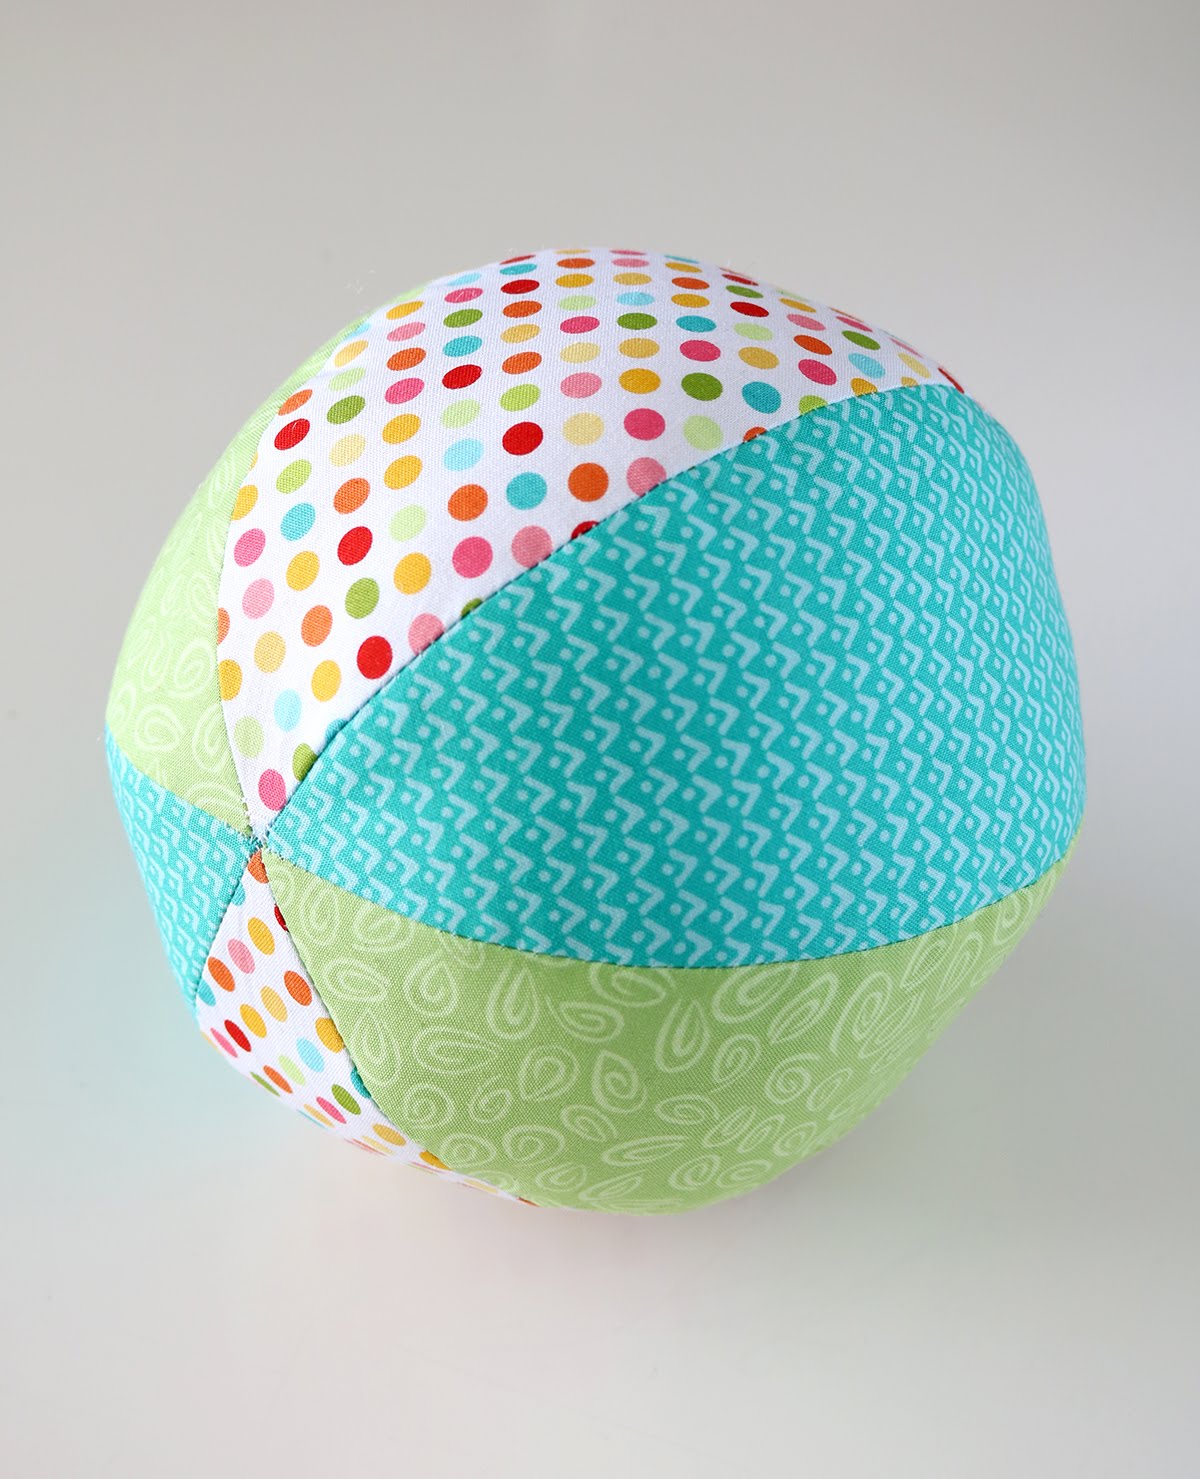
Making an easy fabric ball with the Cricut Maker

My kids are drooling over this machine and have already made a list of projects they want to make with it - most involving balsa wood, cardstock and vinyl.  It will be fun to put the Cricut Maker to the test on something other than my usual quilting cotton fabrics.   

You can read more information about the Cricut Maker here, and  find inspiration here on the Cricut Blog to see what else you can do with a Cricut Maker! 

I'm already working on my next project... and here's a sneak peek! 
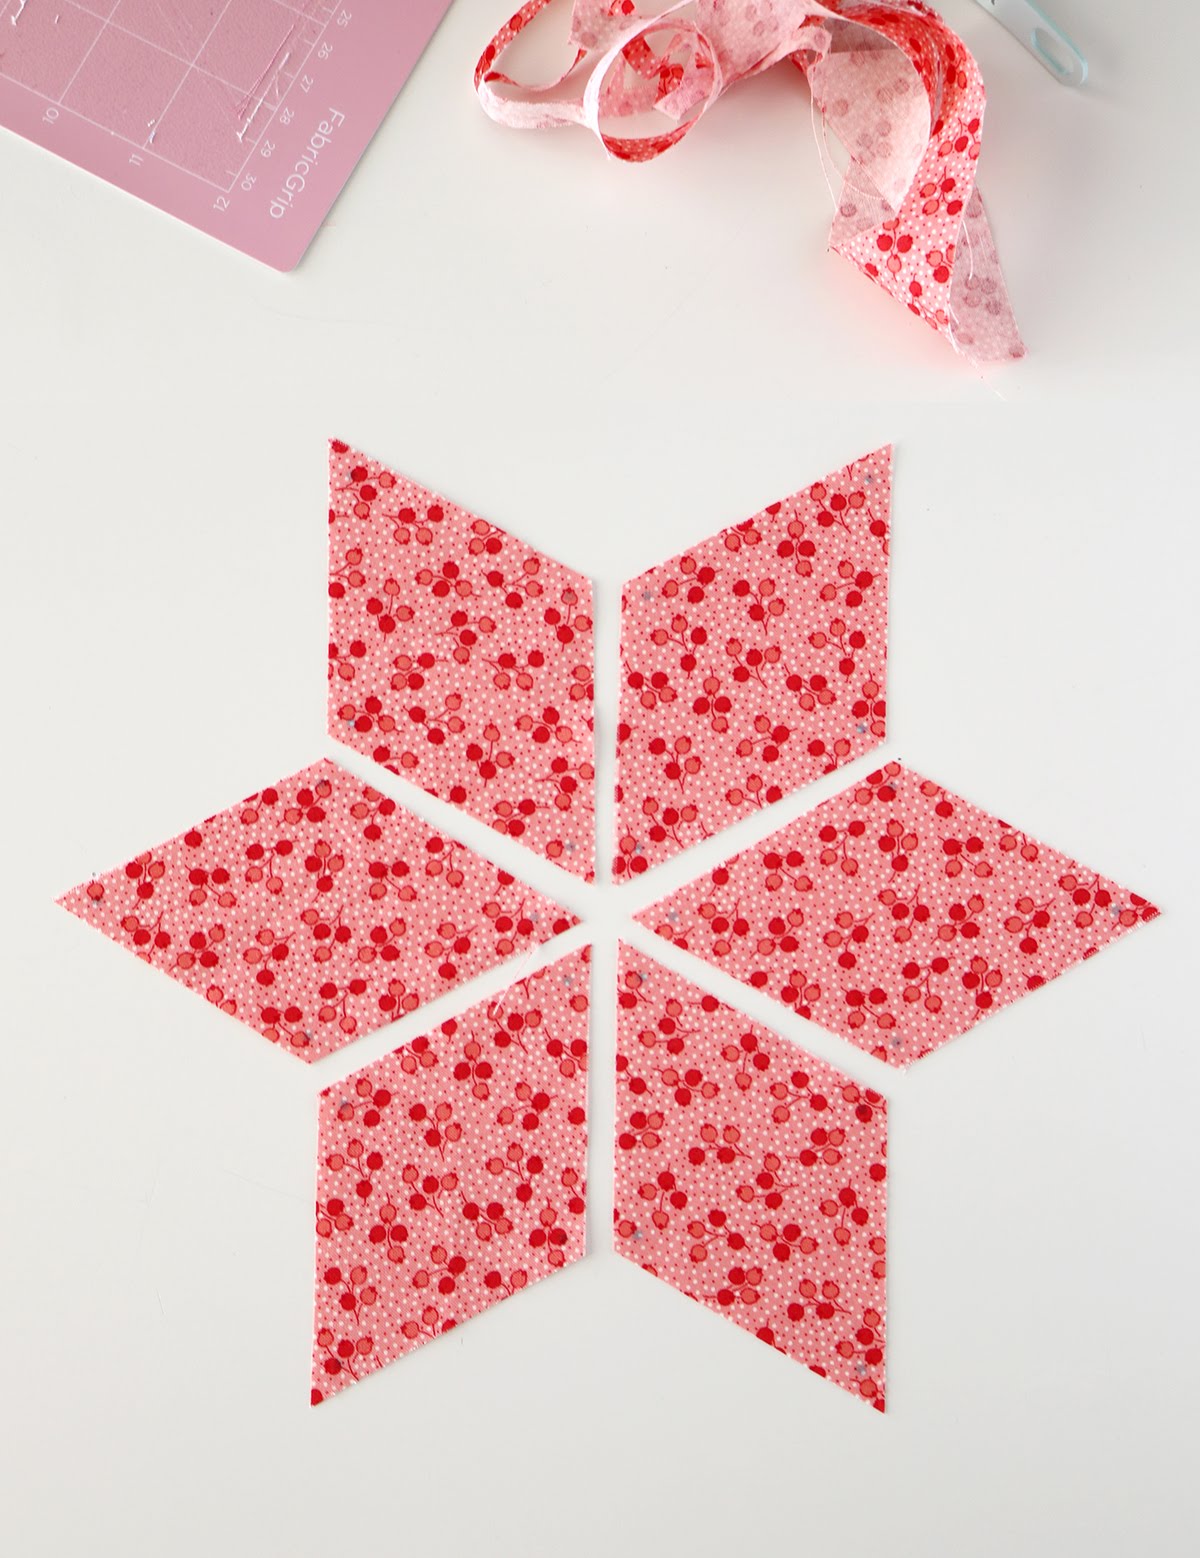
Making a six pointed star quilt with the Cricut Maker

I've made a couple of test blocks and now I just need to choose my fabrics.  Once I have more to share, you'll be seeing more of this project here on my blog. 

Happy sewing!
--Andy

Making an easy fabric ball with the Cricut Maker:  A Bright Corner

Making an easy fabric ball with the Cricut Maker:  A Bright Corner

Saturday, November 25, 2017

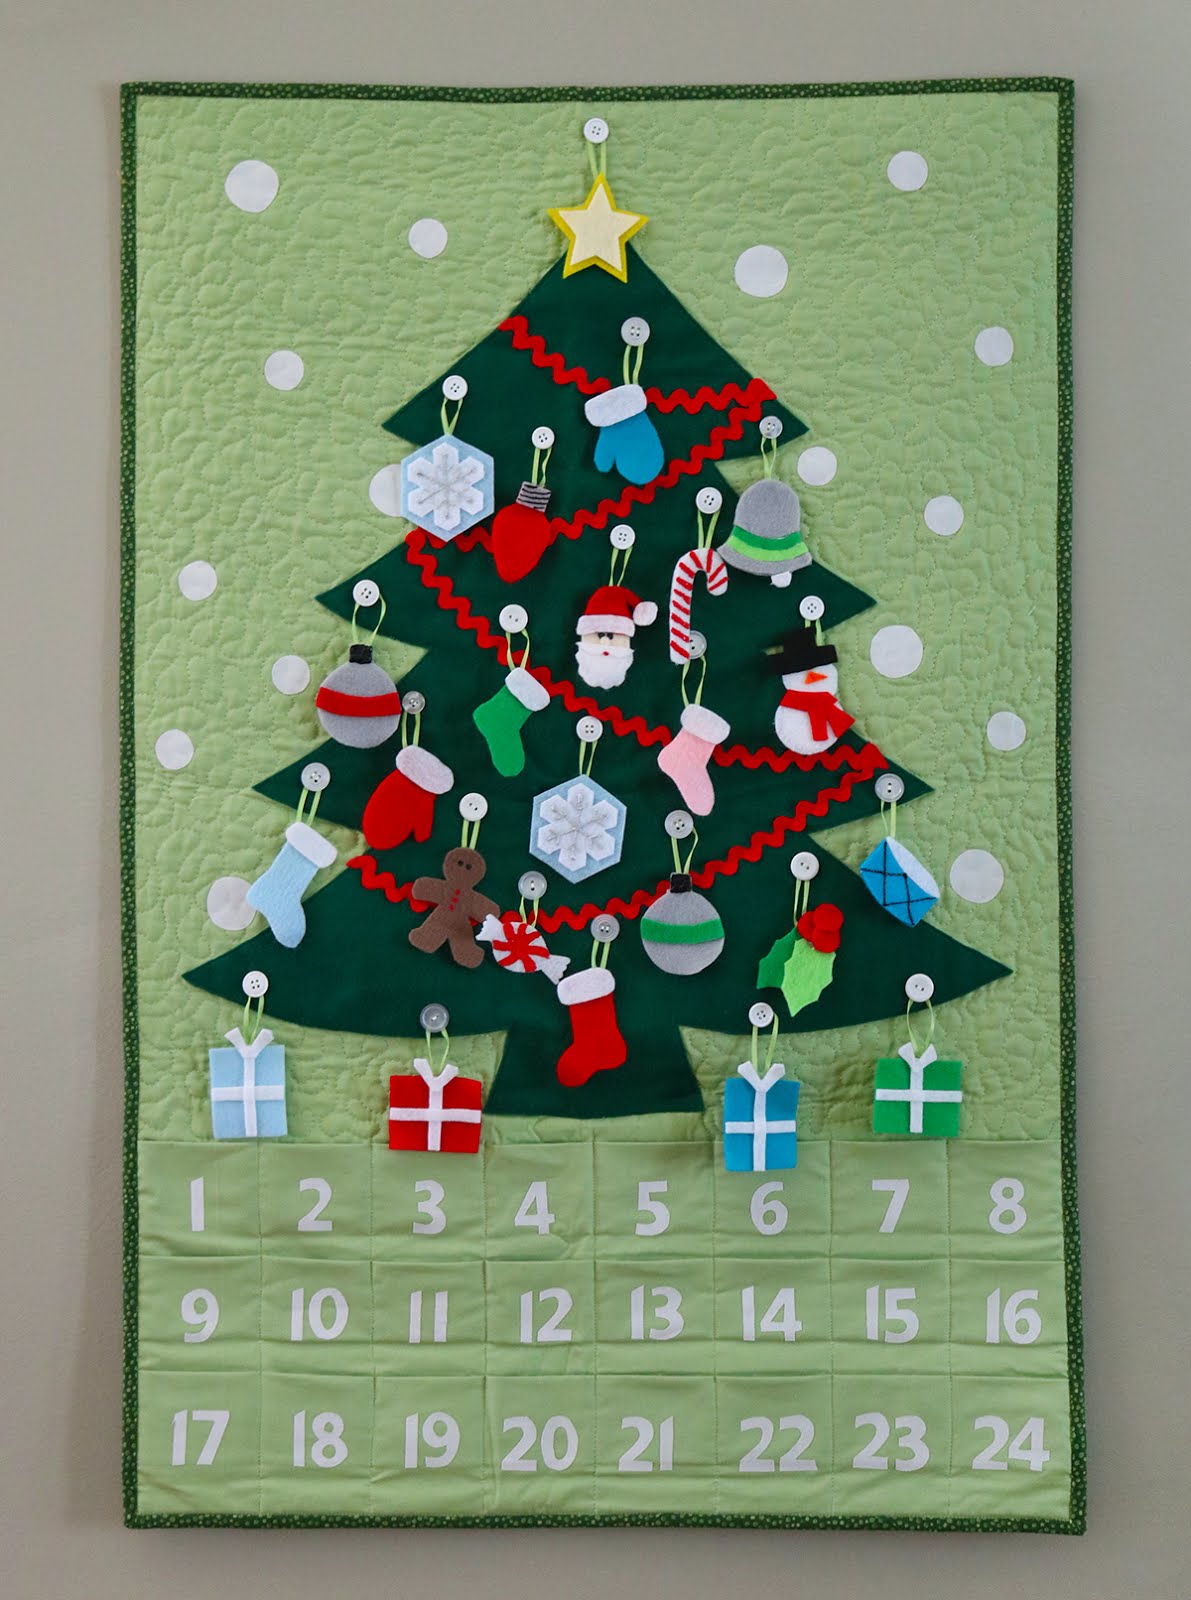
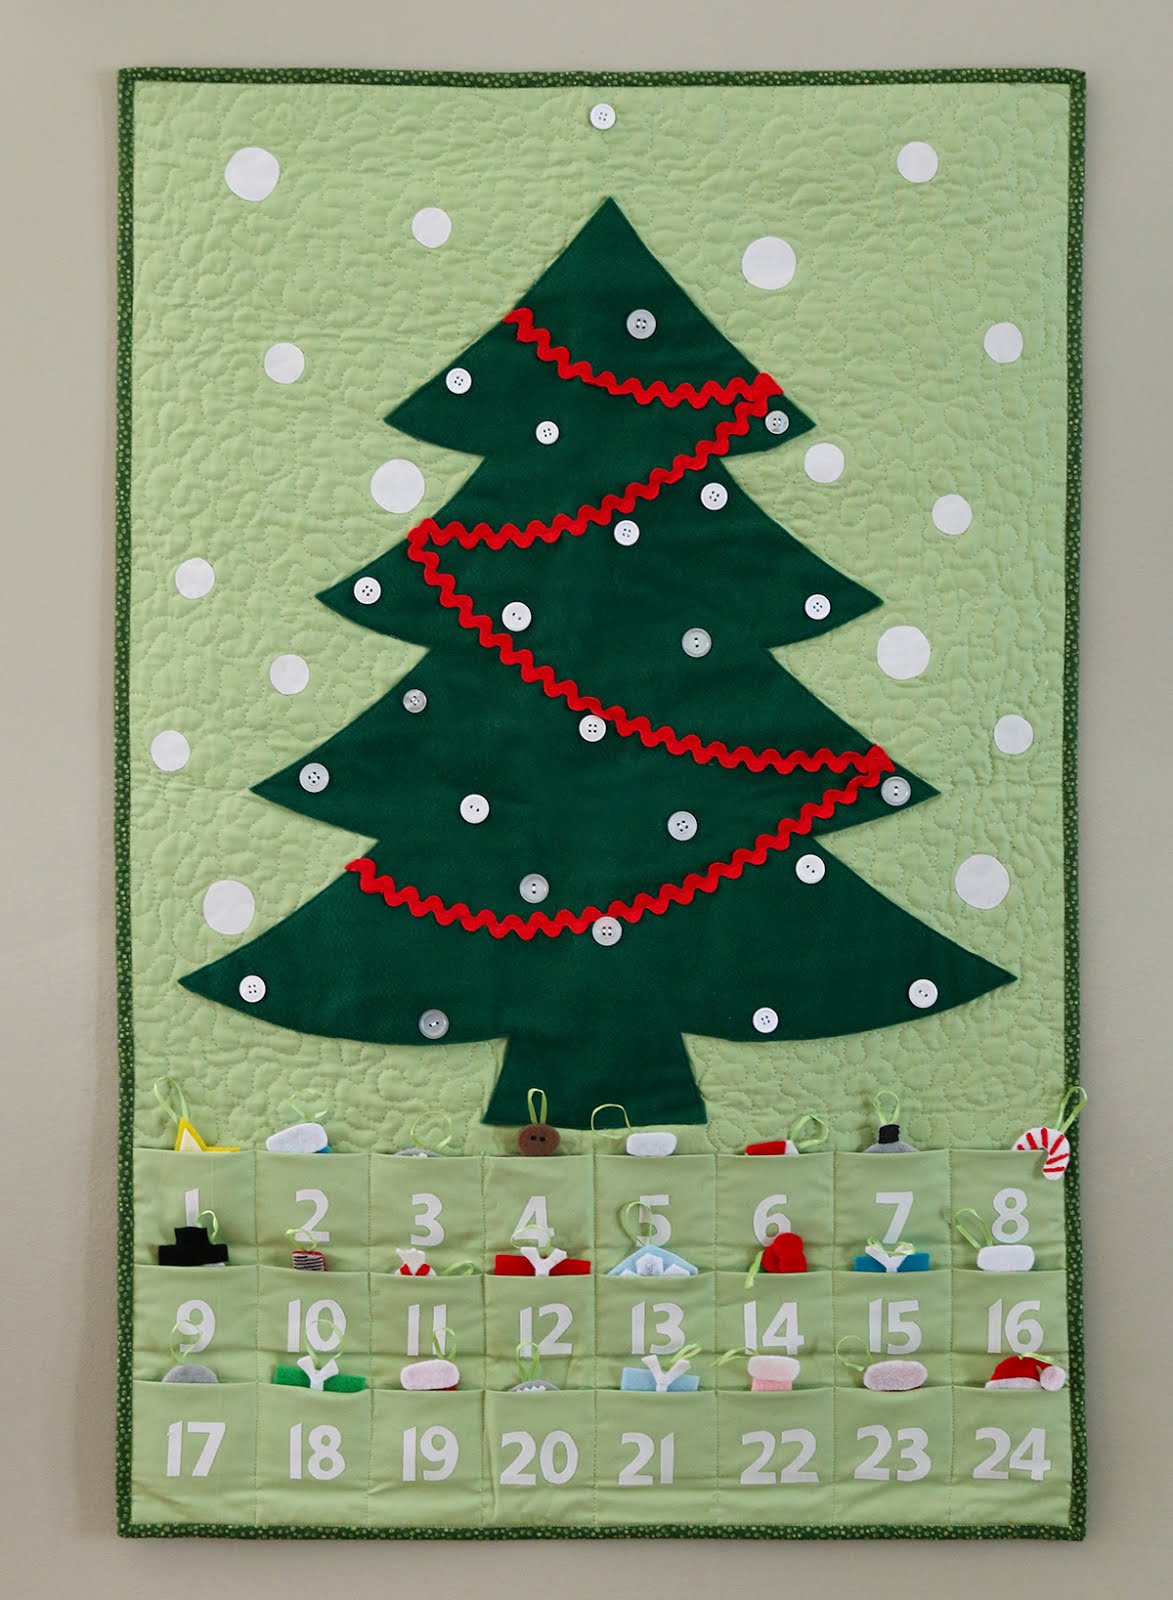
Quilted Advent Calendar and Ornaments Pattern

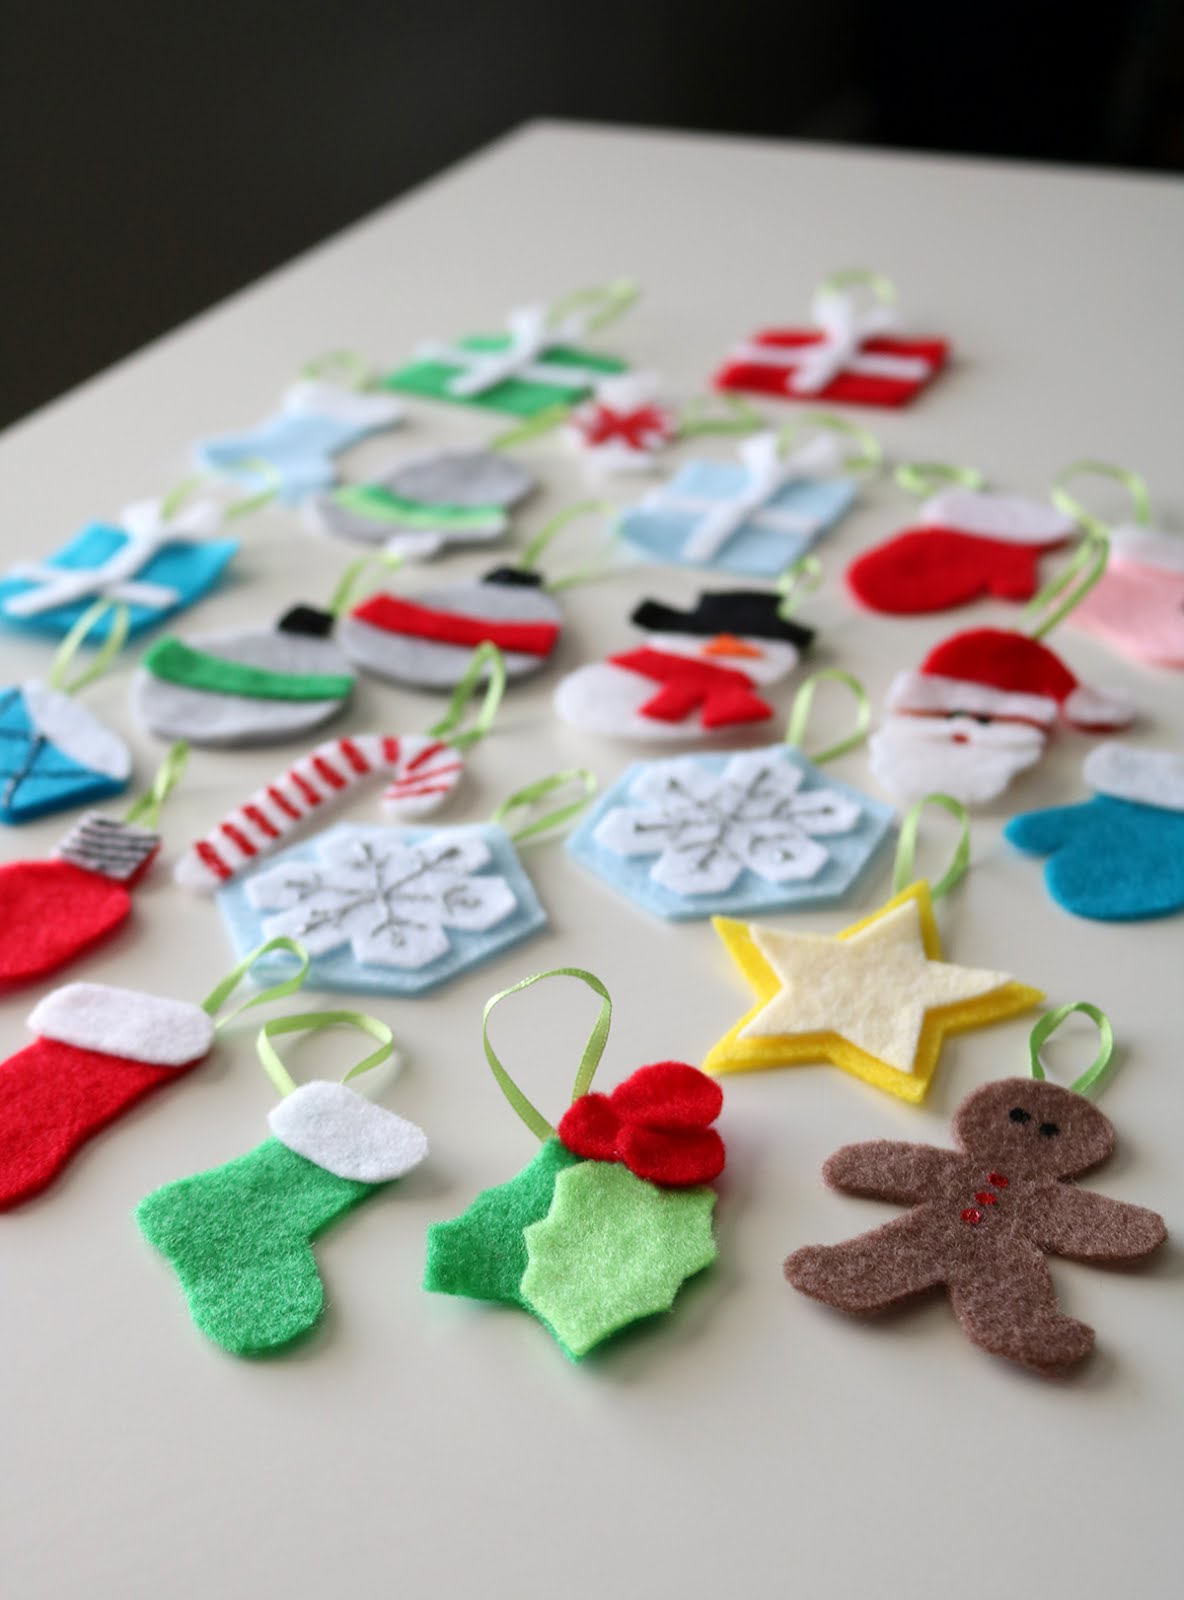
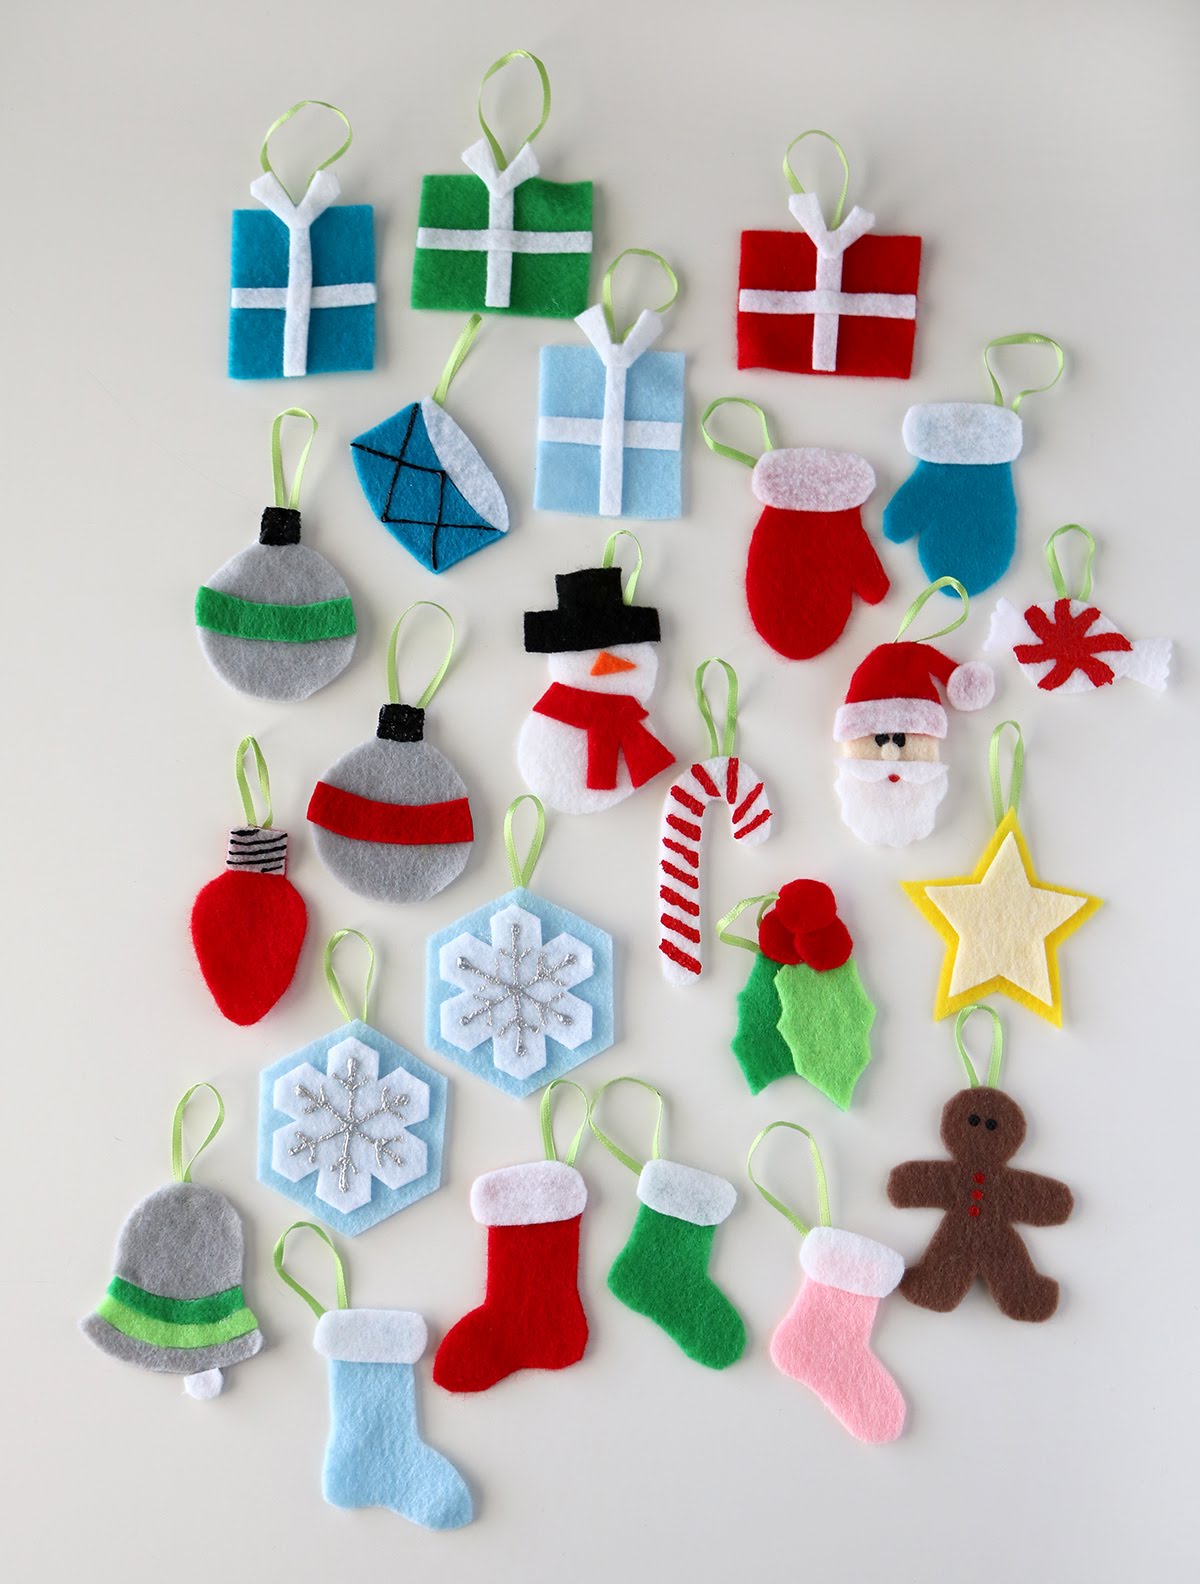
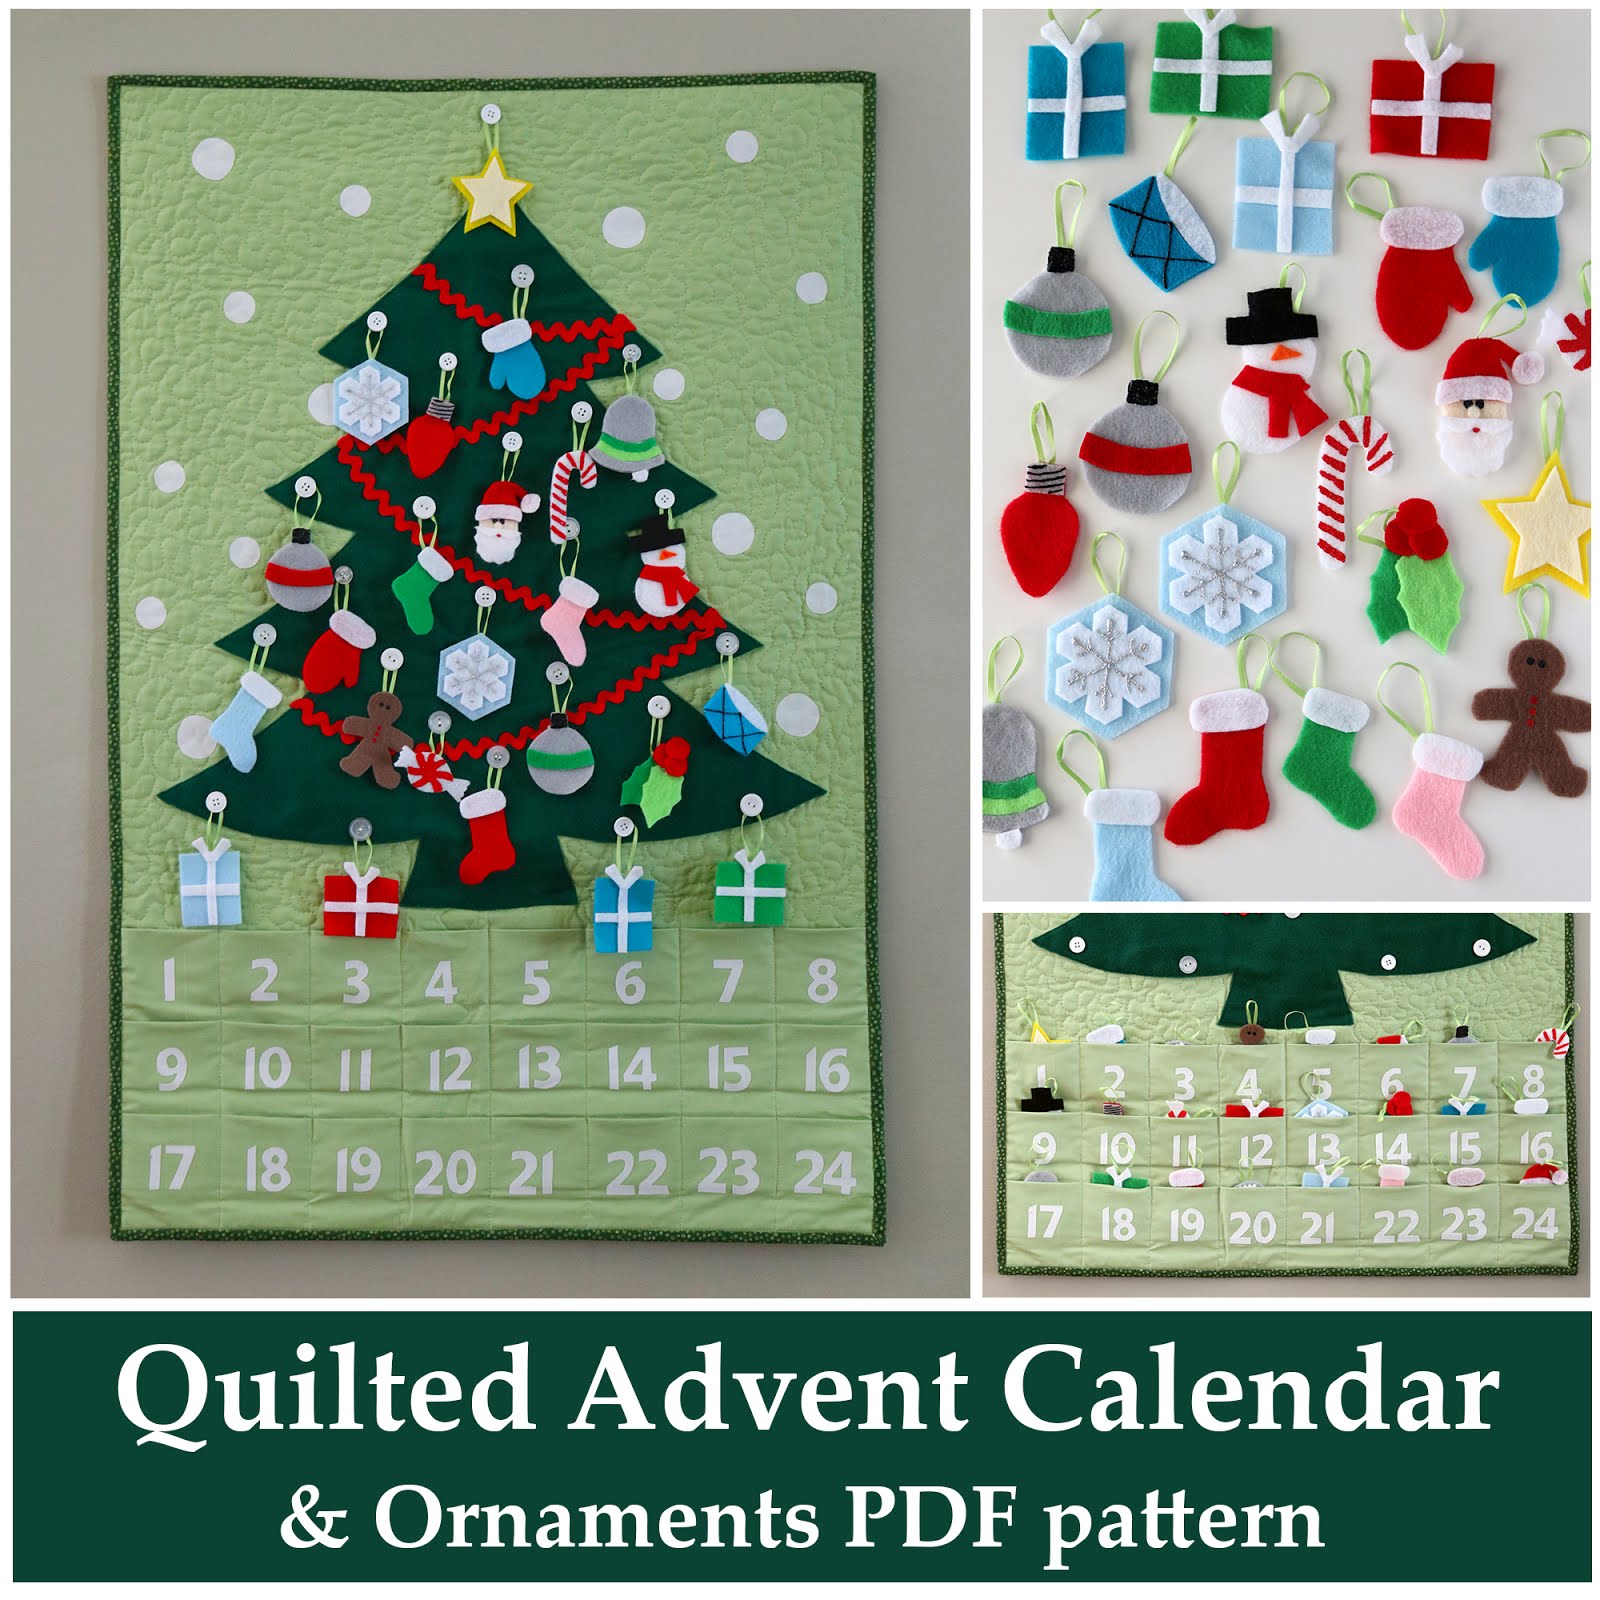
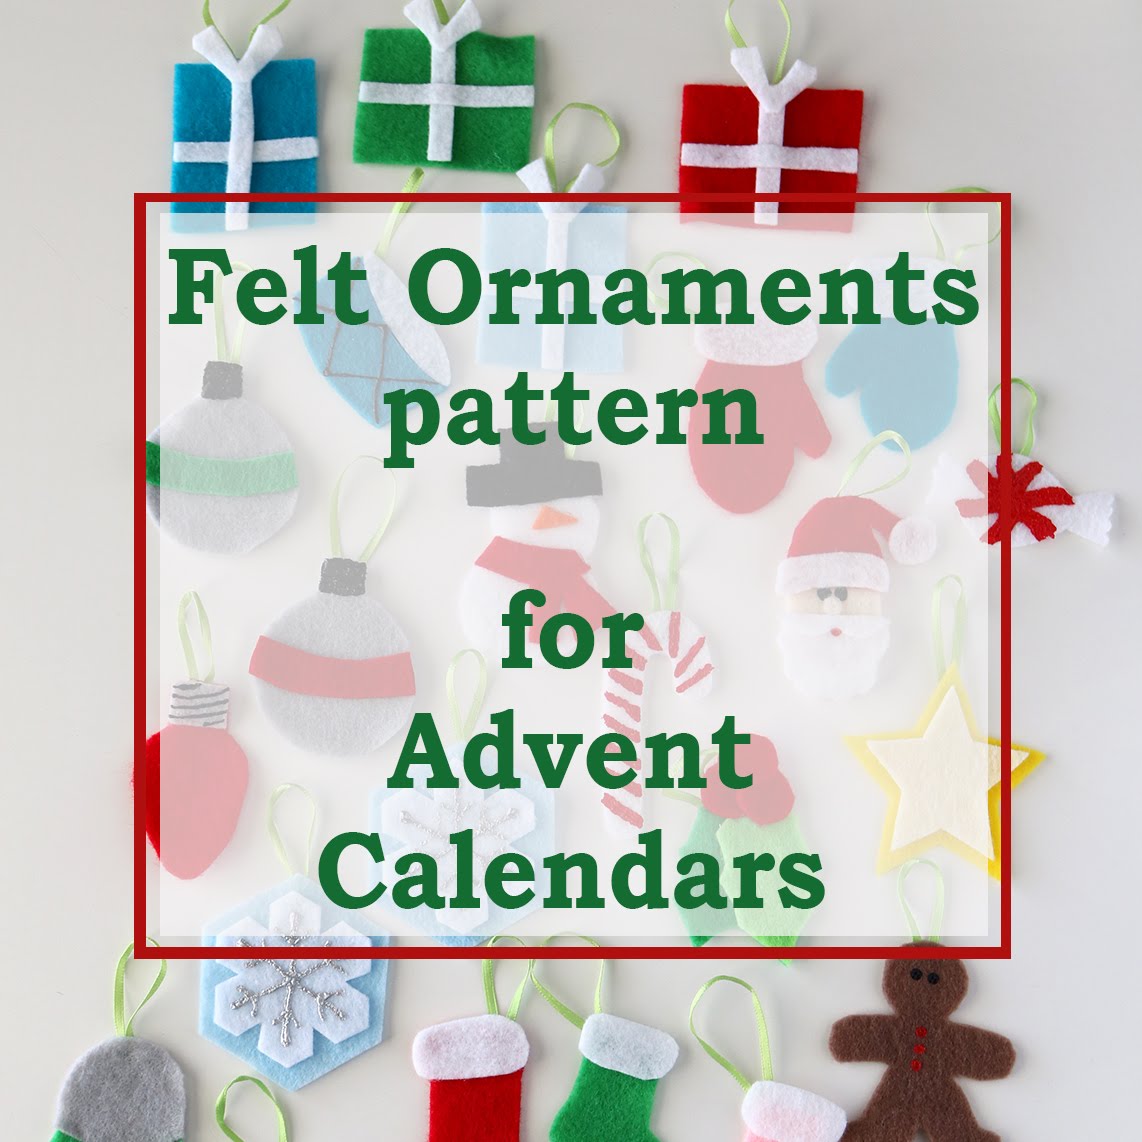
Hi everyone - I wanted to let you know about a new addition to my shop.  Earlier this year I started selling my Quilted Advent Calendar pattern in my Etsy shop as a PDF file.  And just this week I added the instructions for making the cute little felt ornaments as well.  Both patterns are included in the one listing, and for one price.   

Quilted Advent Calendar and Felt Ornaments Pattern

This Advent Calendar is made similar to a quilted wall hanging, except with pockets added on!  If you're nervous about doing the free motion quilting, you could skip the quilting and it would be fine. 

Each little felt ornament fits in its own pocket and then later hangs from a white button - you add one ornament each day in December and by Christmas Eve your tree is decorated!  

Felt advent calendar ornaments PDF pattern

I made one of these advent calendars for my own family about seven years ago and we've loved it so much!  It reminds me of the advent calendar we used when I was growing up.  I remember arguing with my sisters over who's turn it was to put up that day's ornament.  My mom was such a good sport to put the calendar up each year even though it must have caused plenty of squabbles.  

Quilted Advent Calendar and Felt Ornaments pattern

Our tradition now, is that we put the star ornament up first on December 1st, and we save the Santa ornament to put up on Christmas Eve.  

Felt advent calendar ornaments pattern

You can find the Quilted Advent Calendar and Ornaments pattern here.  If you already have an advent calendar and just need the ornaments, you can find that pattern sold separately here.   And if you've previously purchased the Quilted Advent Calendar from me and need the pattern for the ornaments, send me an email ([email protected]).

Happy crafting!


Quilted Advent Calendar and Ornaments PDF pattern


Felt advent calendar ornaments PDF pattern


Wednesday, July 27, 2016

Pixie Noel Blog Tour + Cabin Cushion Pattern


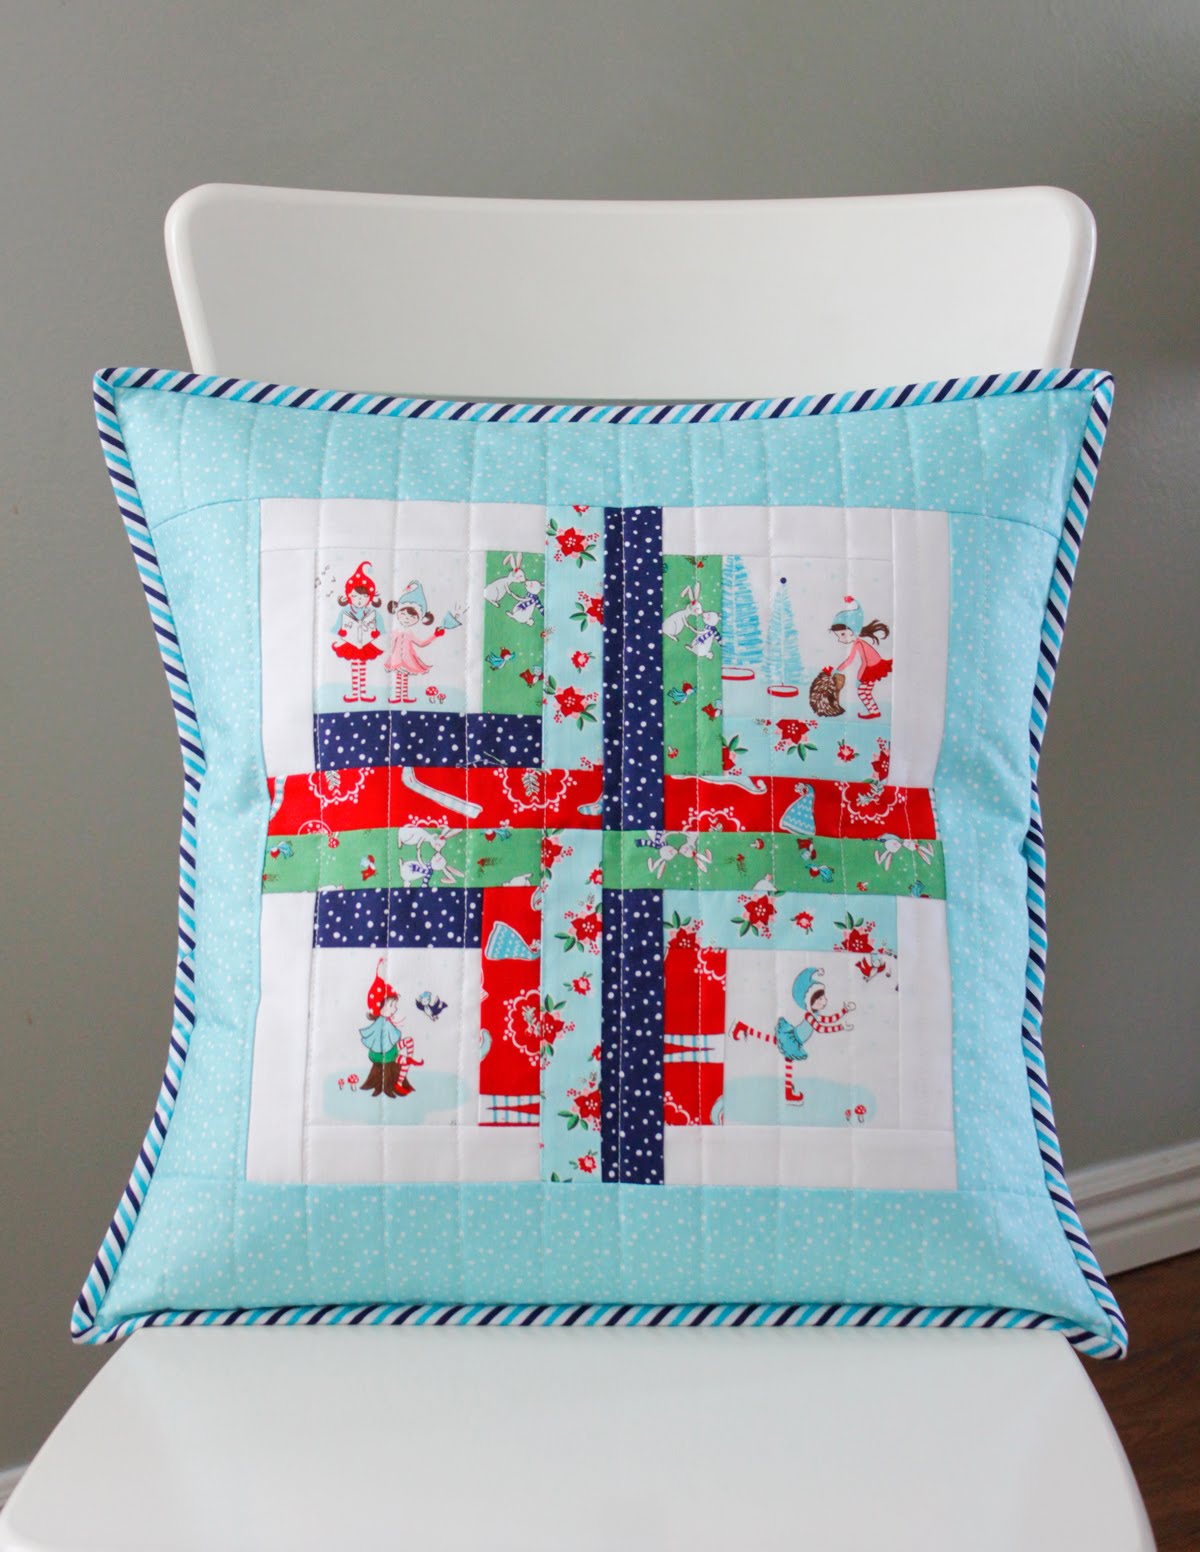
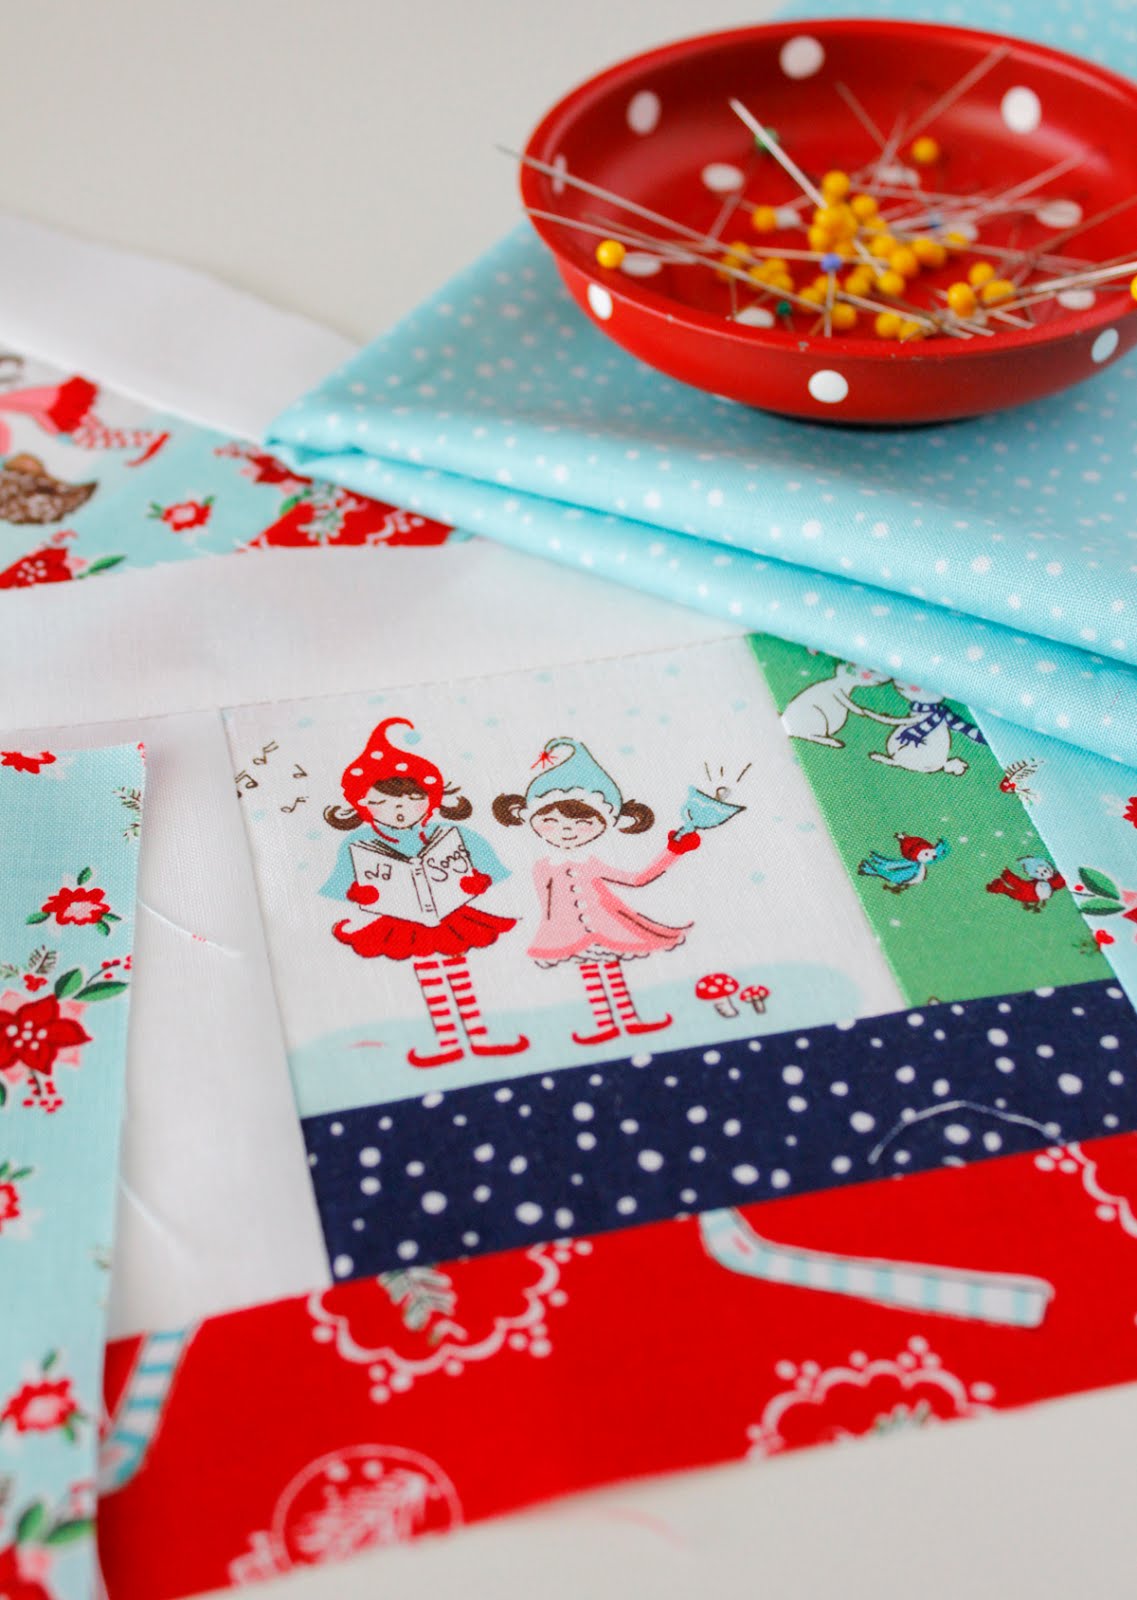
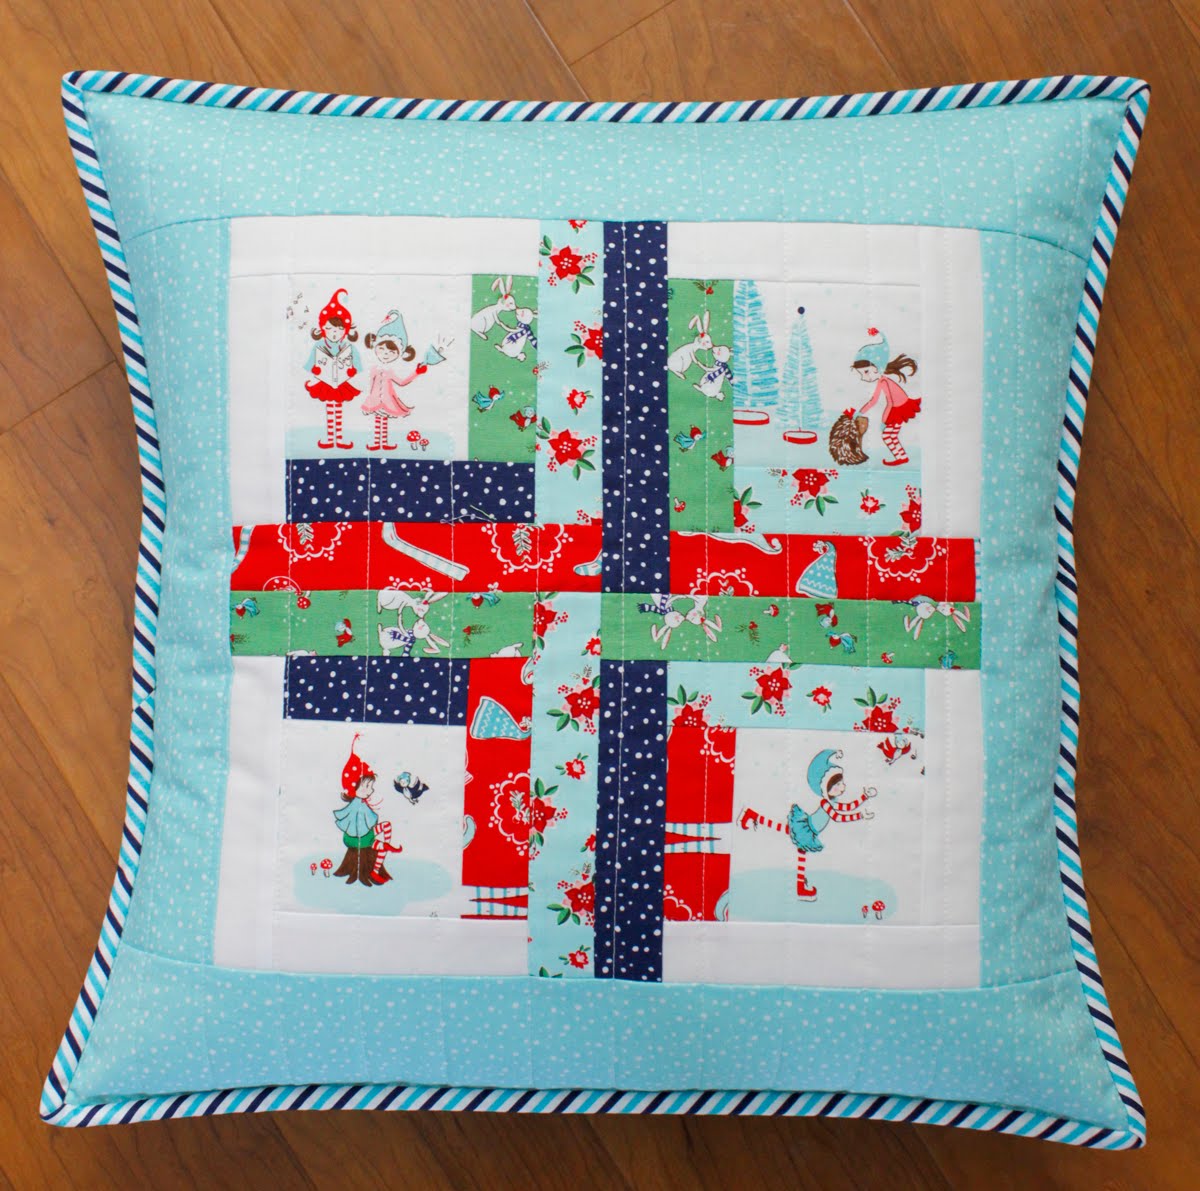
Welcome to my stop on the Pixie Noel blog tour!  I'm a big fan of Tasha Noel's fabric (Riley Blake Designs) and her new line, Pixie Noel is sure a fun one.  The main print is PERFECT for fussy cutting so I used four of the little vignettes to make this log cabin quilted pillow.  (Find a link to the pattern below).  


How cute are these little caroling pixies?  And the kissing bunnies and birds with scarves?  


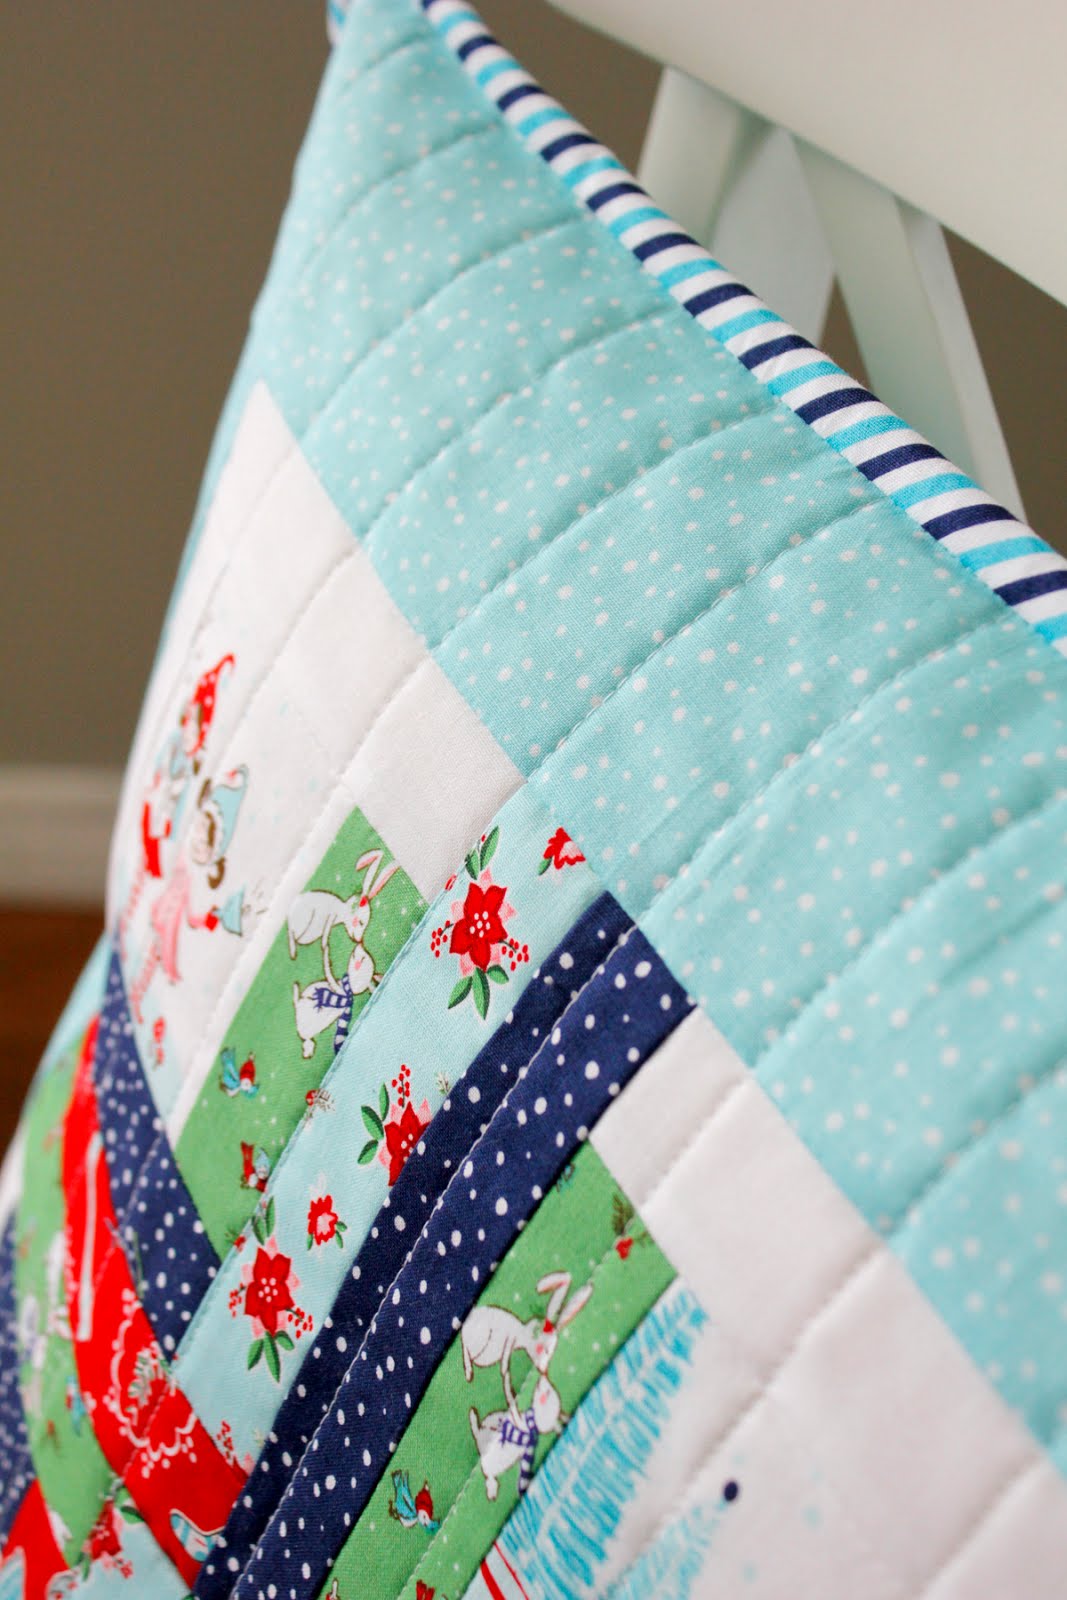
For the quilting, I did some simple, straight lines.  And the navy and aqua bias stripe from the line is perfect as the binding.  I love adding binding to pillows - it adds such a nice finished look!


The pillow finishes at 18".  Want to make your own?  You can find the PDF pattern here in my shop.  I'm calling it the Cabin Cushion pattern and for a short time it's available for just $5.


Pixie Noel fabrics are available in stores now and you can see the other great Pixie Noel projects from the blog tour by clicking on the links found here.  You can also see them on Instagram (#pixienoelfabrics) or by following @TashaNoel1.  

Thanks for stopping by!


Monday, June 20, 2016

Even a Mouse +Lined Drawstring Bag

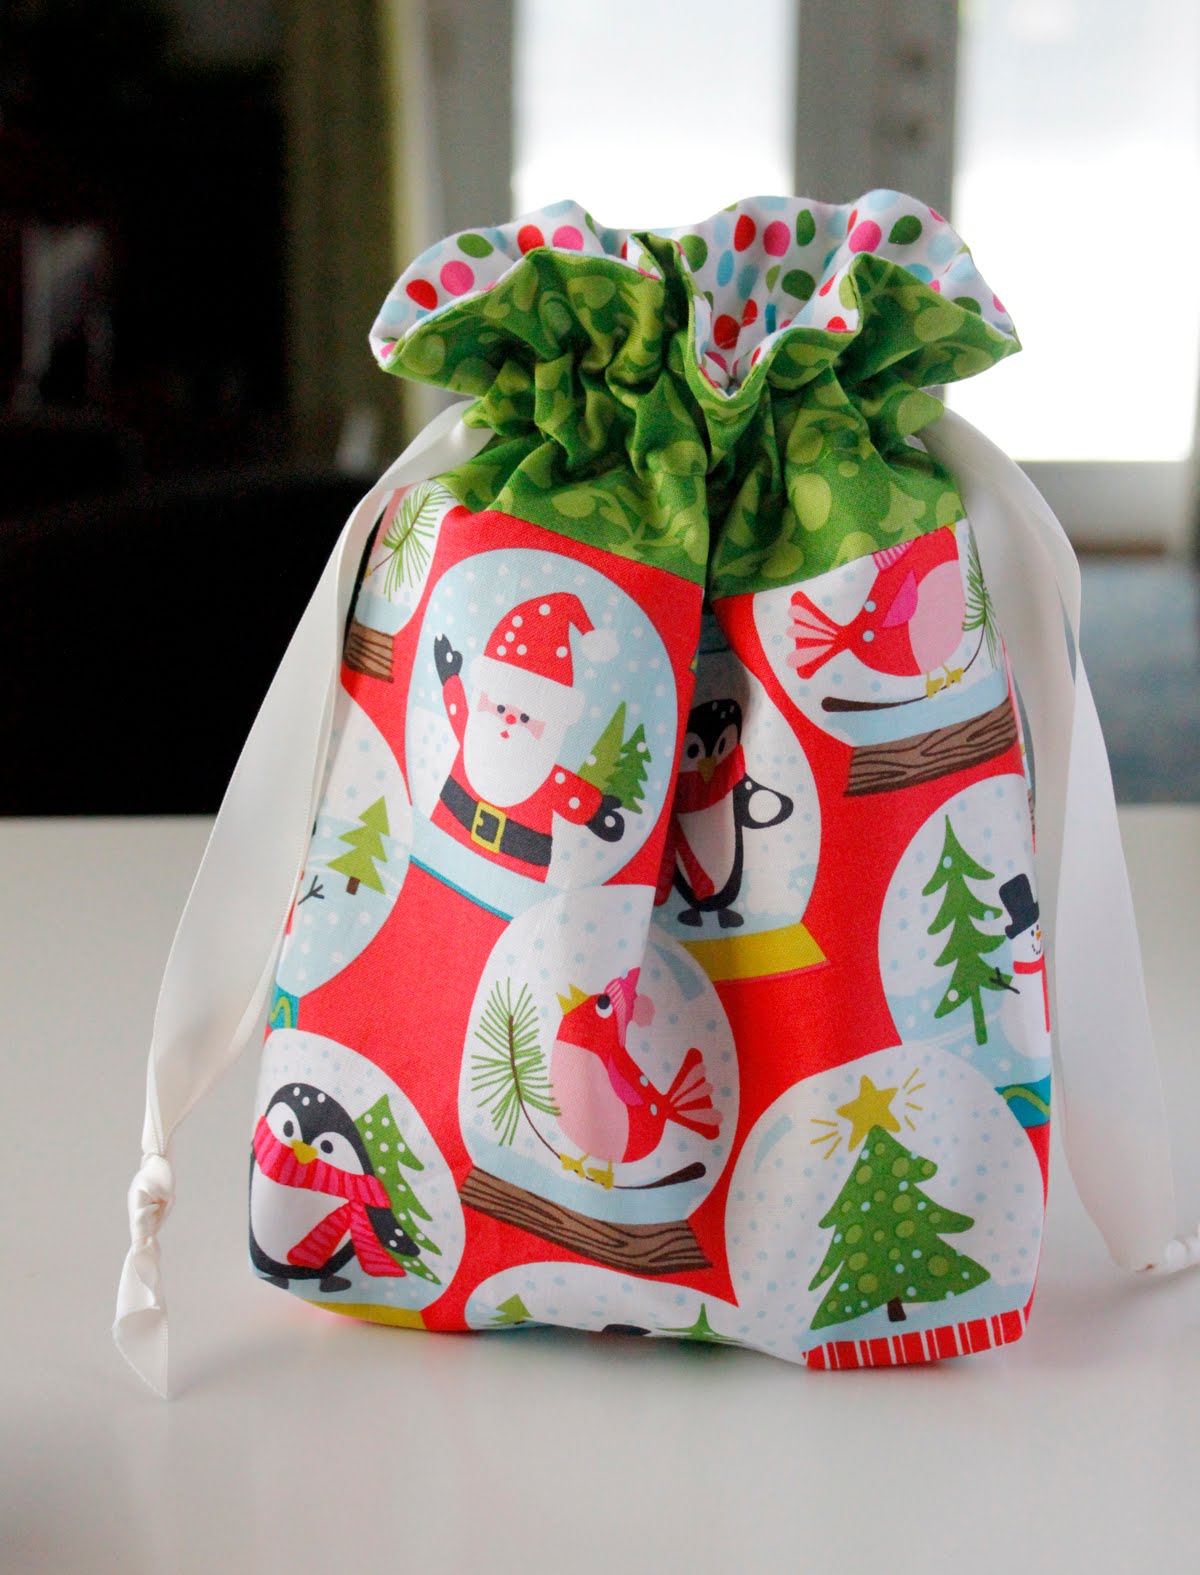
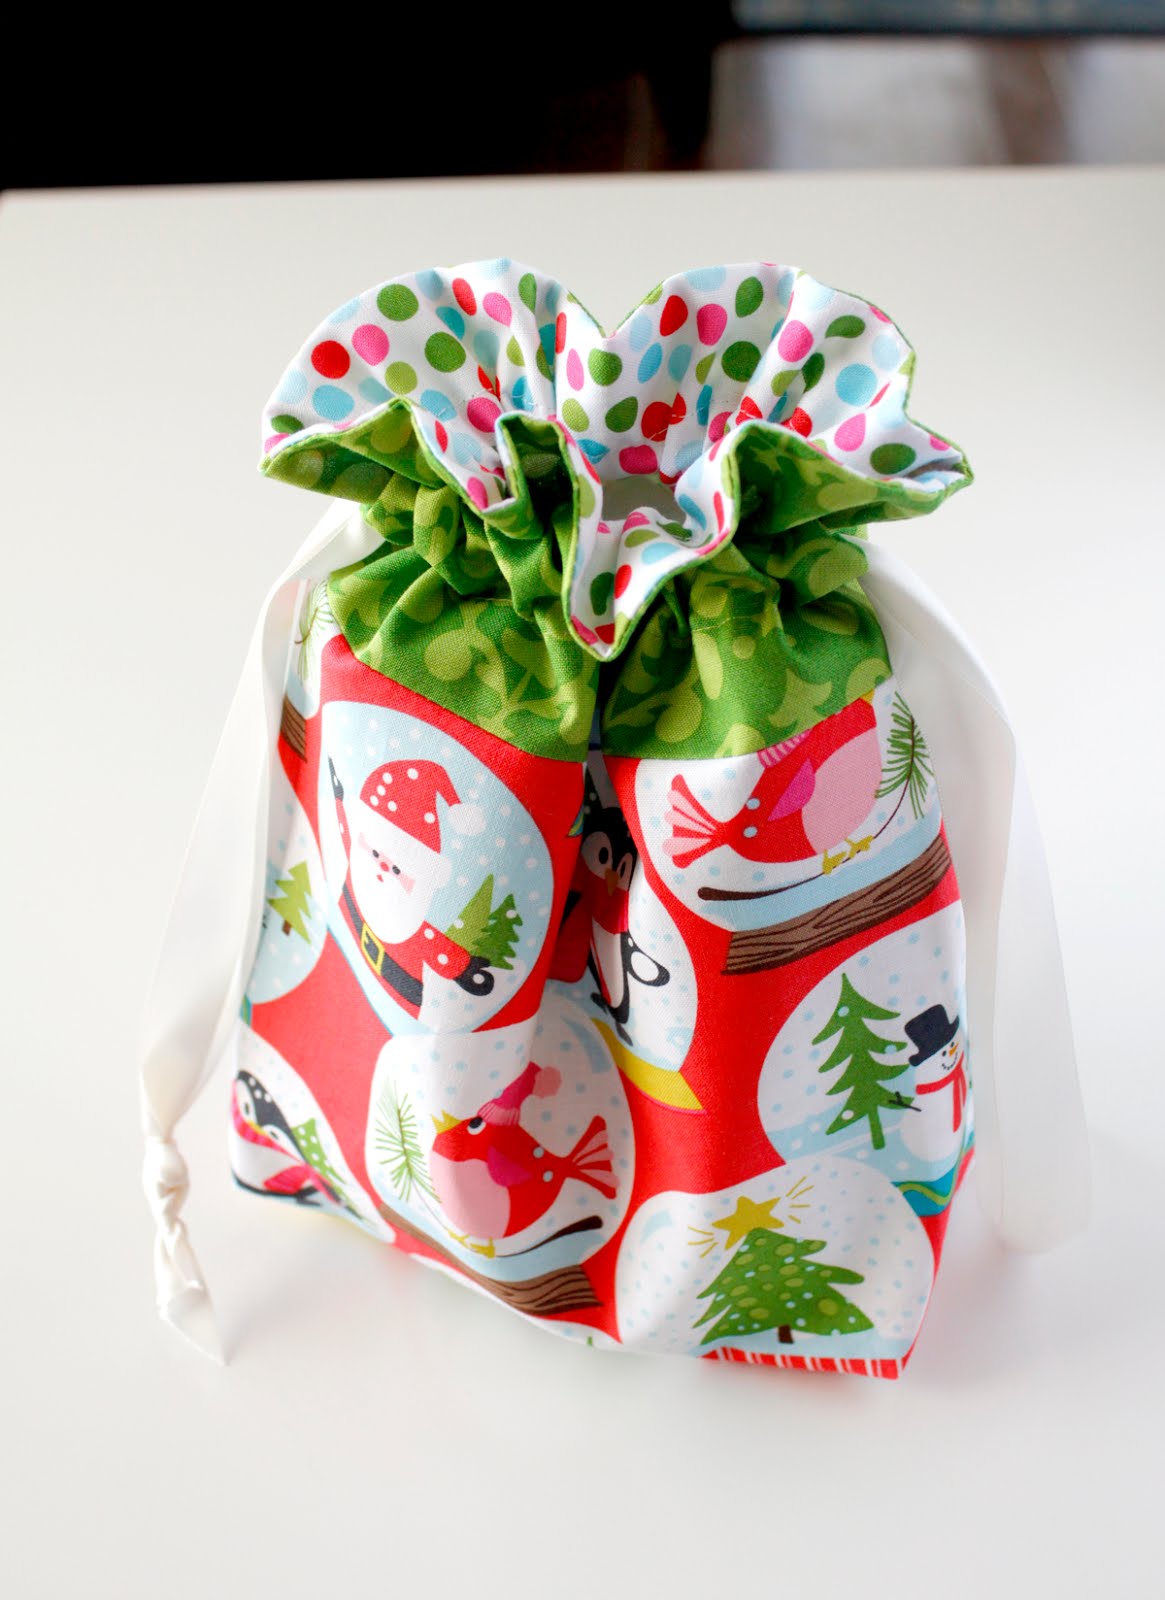
This week I've been making these fun lined drawstring bags.  They're quick to whip up, perfect for gift-giving, and addicting to make.

Lined drawstring bag

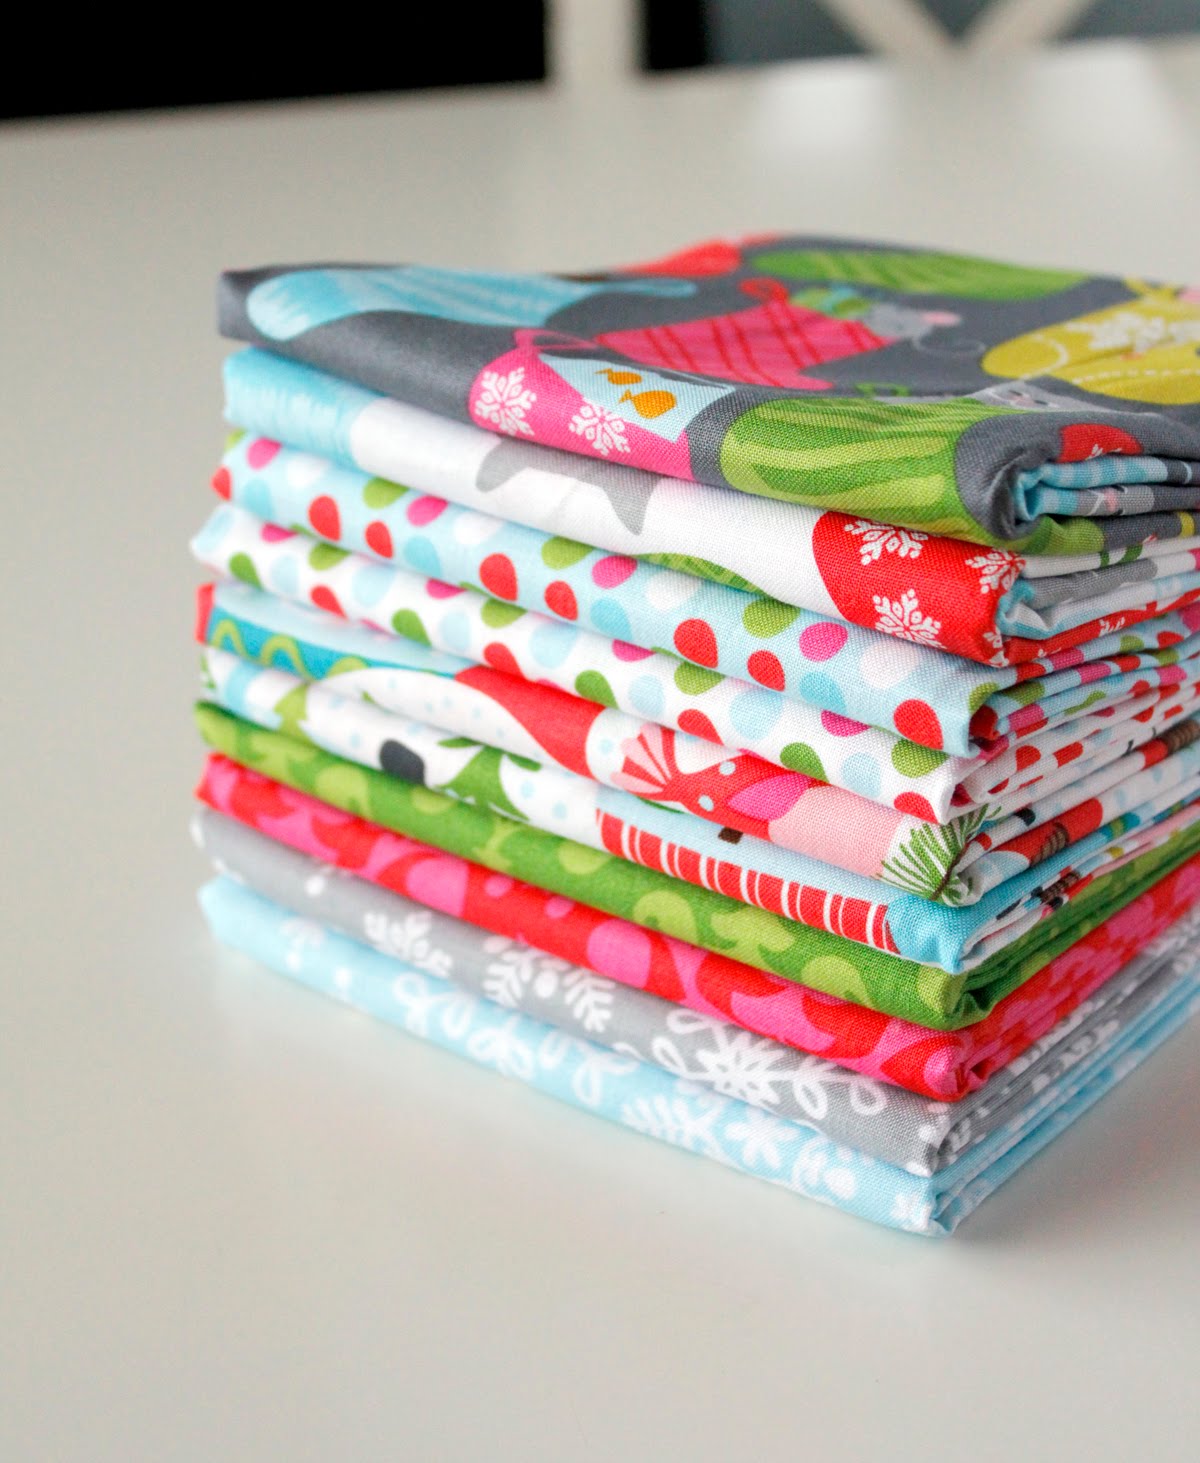
I love getting my first peek at the new Christmas fabrics each year, and then thinking up all the fun projects I want to make.  (Sometimes they get done before Christmas, and sometimes not.)  This stack is from Blend fabrics - it's a line called Even a Mouse, designed by Maude Asbury.


Even a Mouse fabric from Blend

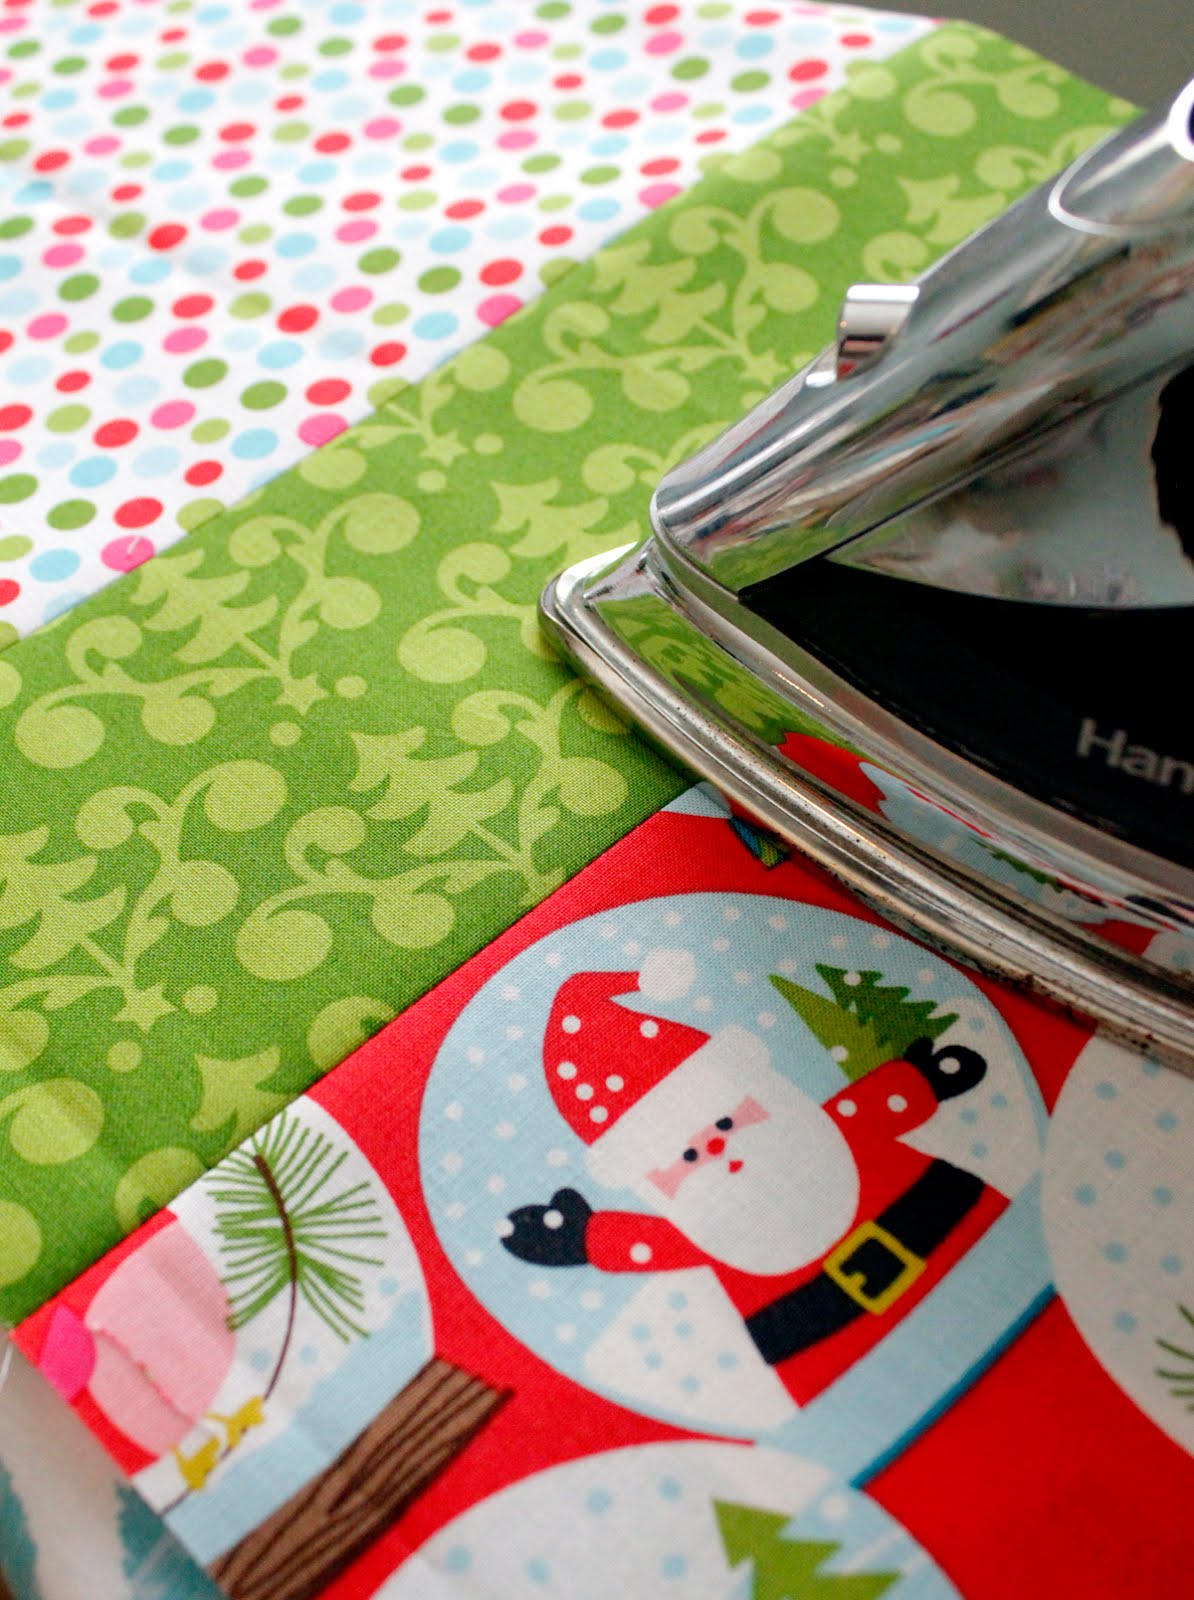
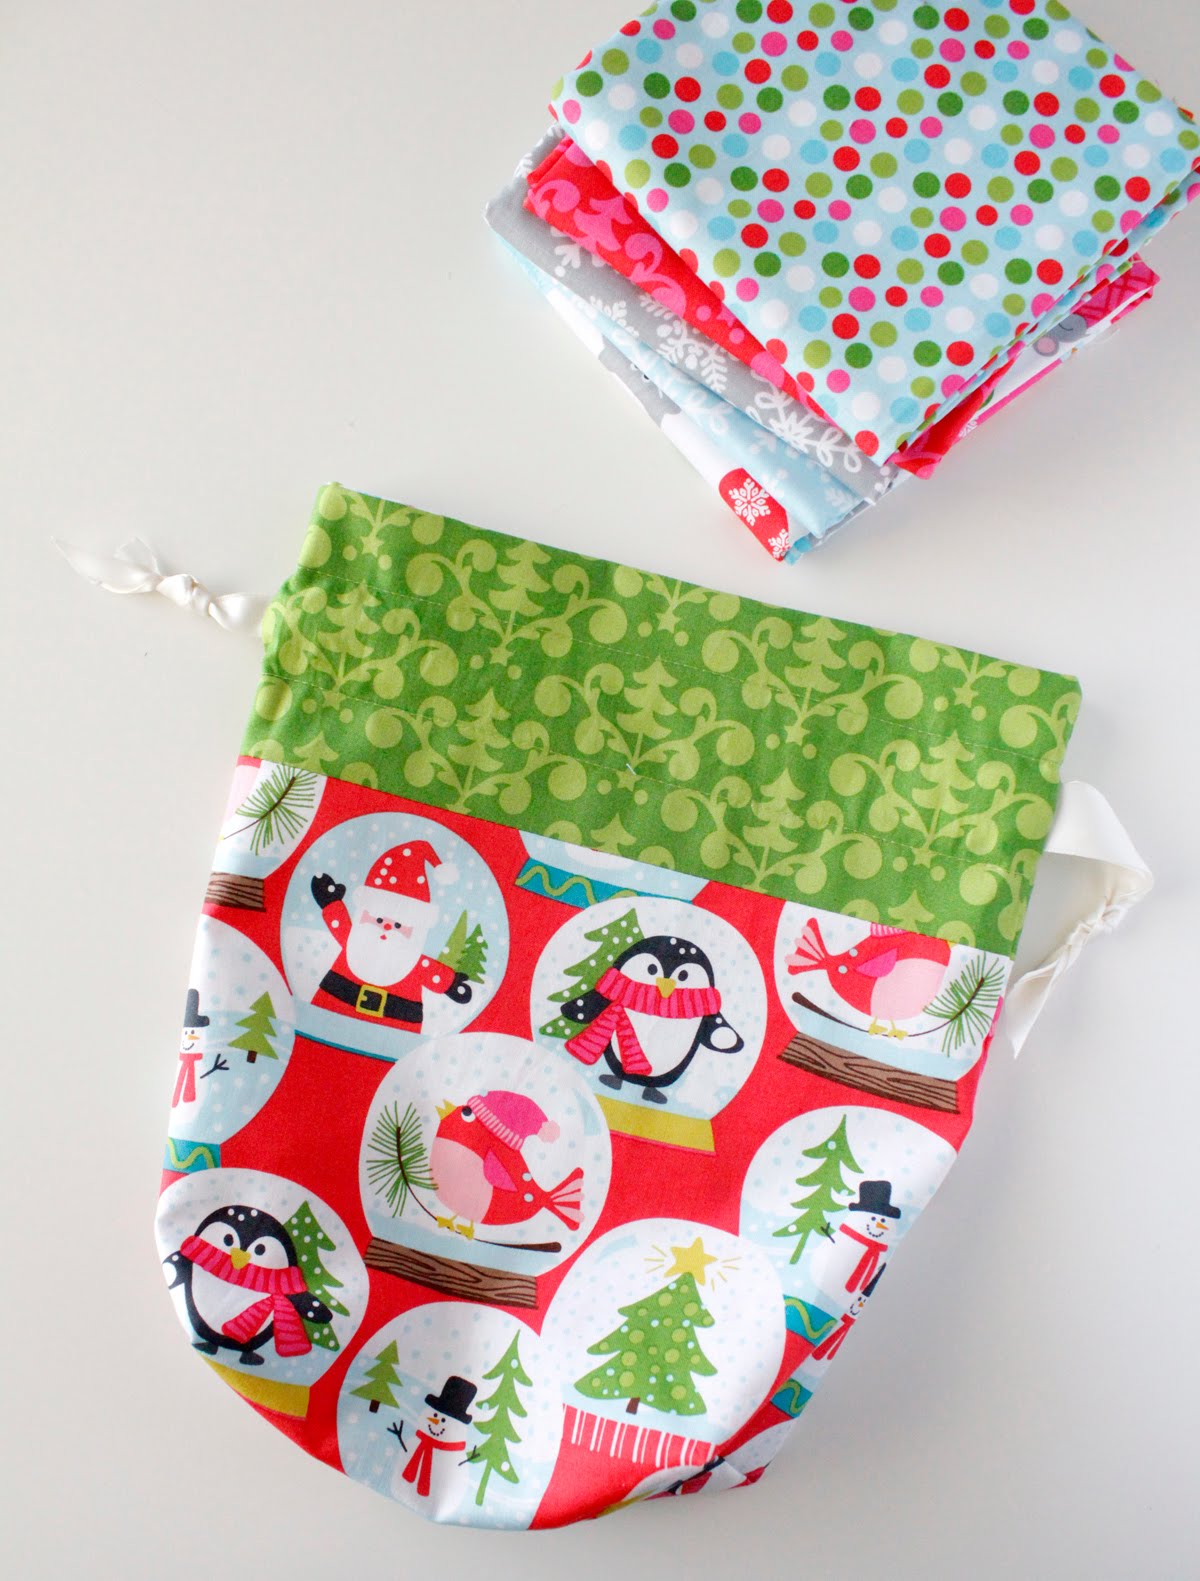
I'm a sucker for fun, bright colors when it comes to Christmas, and I thought this snow globe print (shown below) was perfect for the outside of the bag.  

Even a Mouse fabric from Blend


Even a Mouse fabric from Blend

The tutorial makes this one size bag, but if you'd like instructions for a variety of sizes, Jeni also sells a pattern for the Lined Drawstring Bag here and the pattern includes 8 different bag sizes that range from 4" tall to 26" tall!  

lined drawstring bag

I love the details she adds to the bag - like how the lining peeks through at the top, and the use of the double drawstring.  I know I'll be making more of these fun bags!


Even a Mouse fabric from Blend


You can see more of the Even a Mouse fabric line here on the Blend Fabrics website.  They should be shipping to stores this month!


Monday, June 6, 2016

Zipped Case


A few weeks ago I stumbled across this hashtag on Instagram (#ohszippedcase) and it led me to a fun (and free!) PDF tutorial for this great zipped case.   (April 2024 edited to add: the PDF tutorial can now be found on the Mx Domestic blog here!)


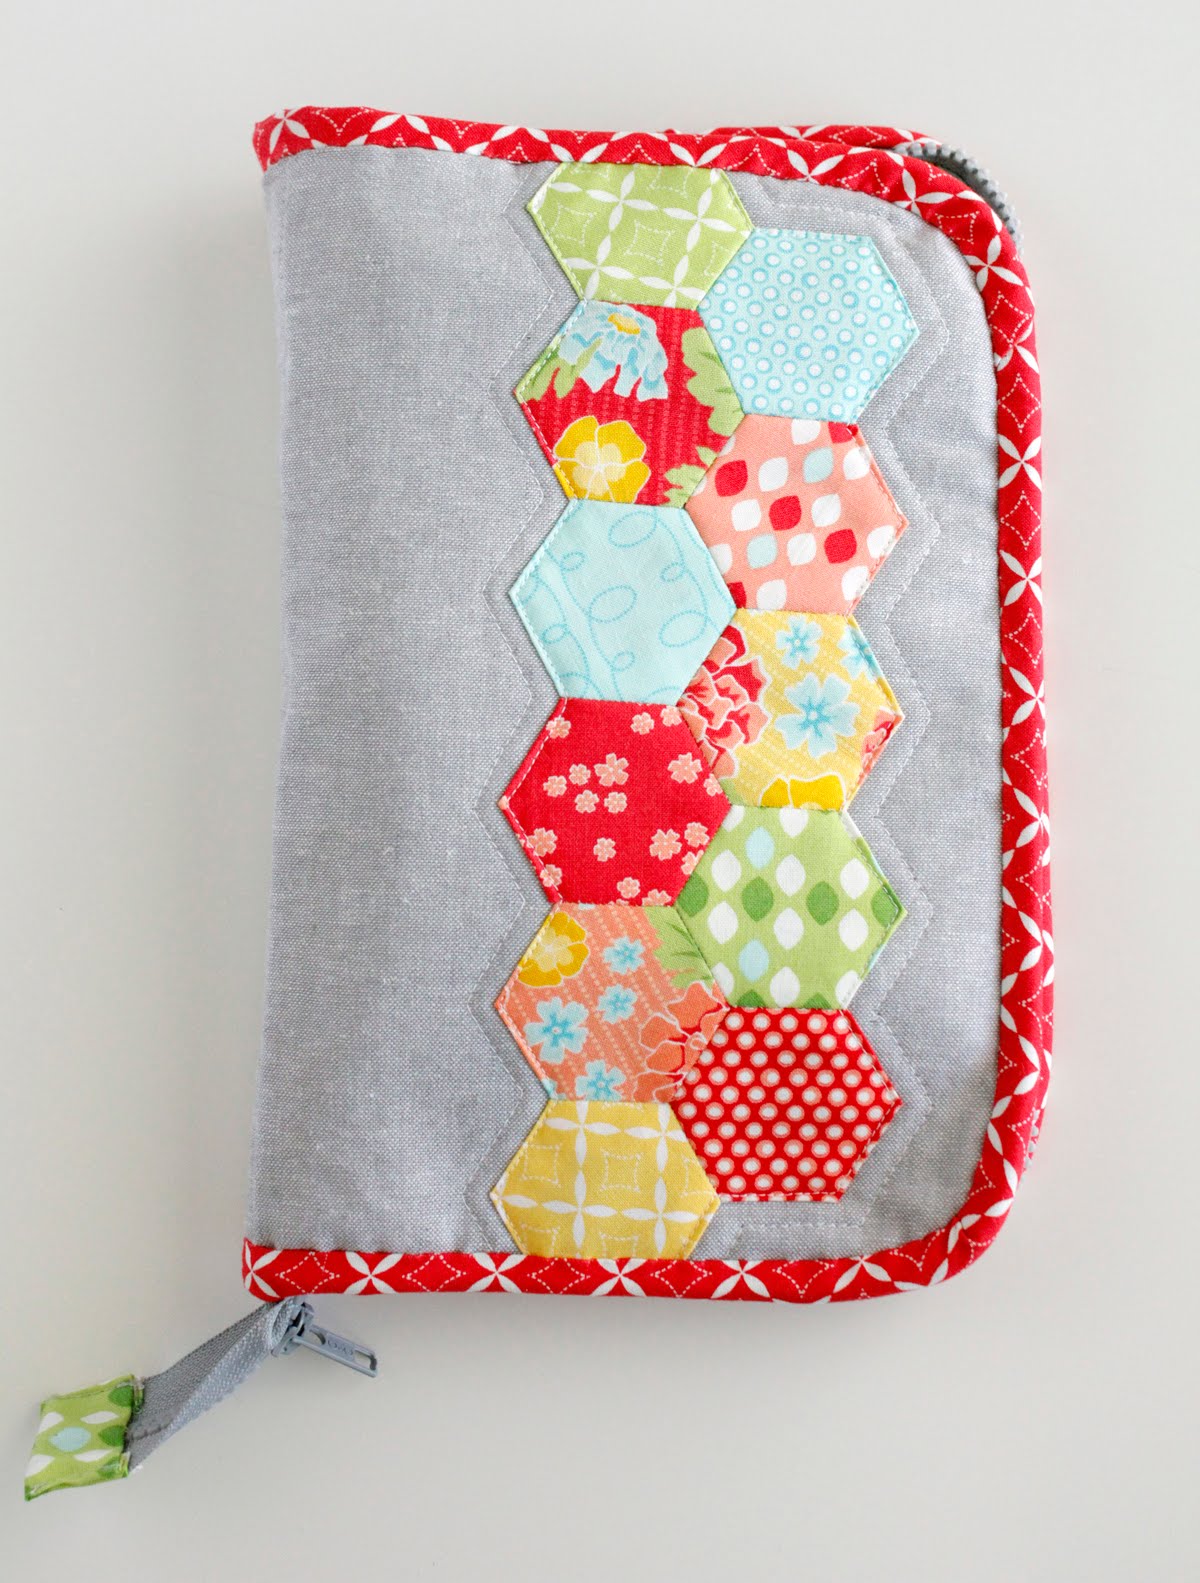
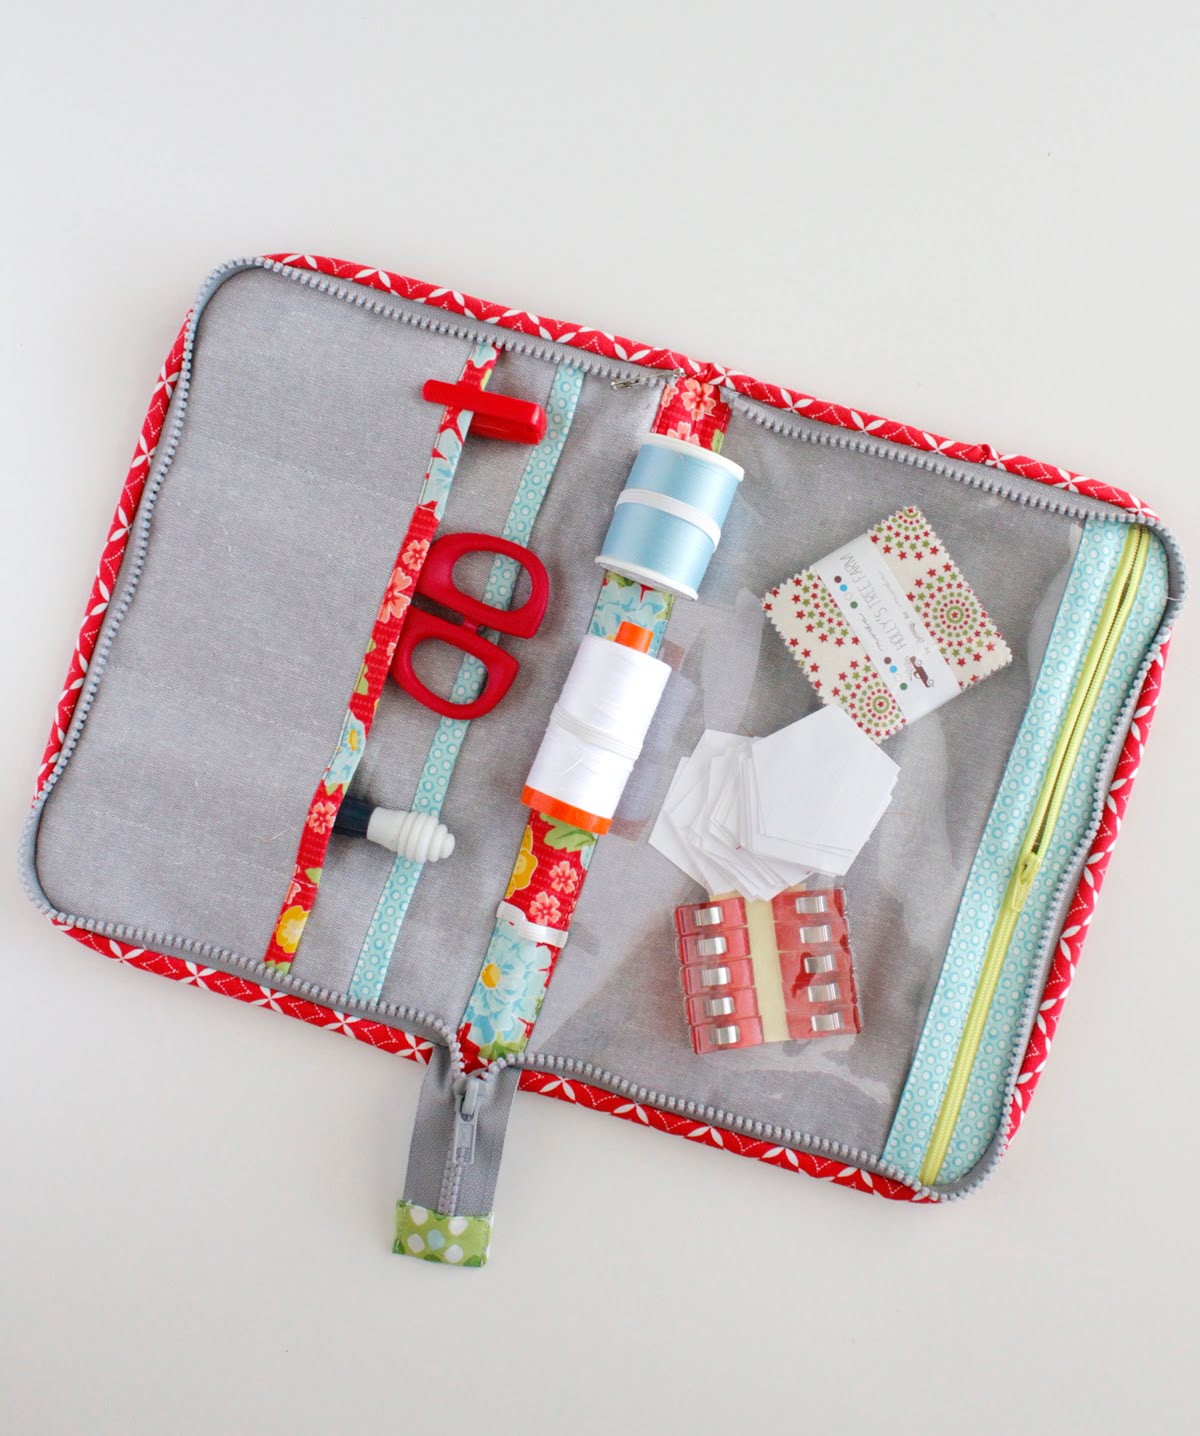
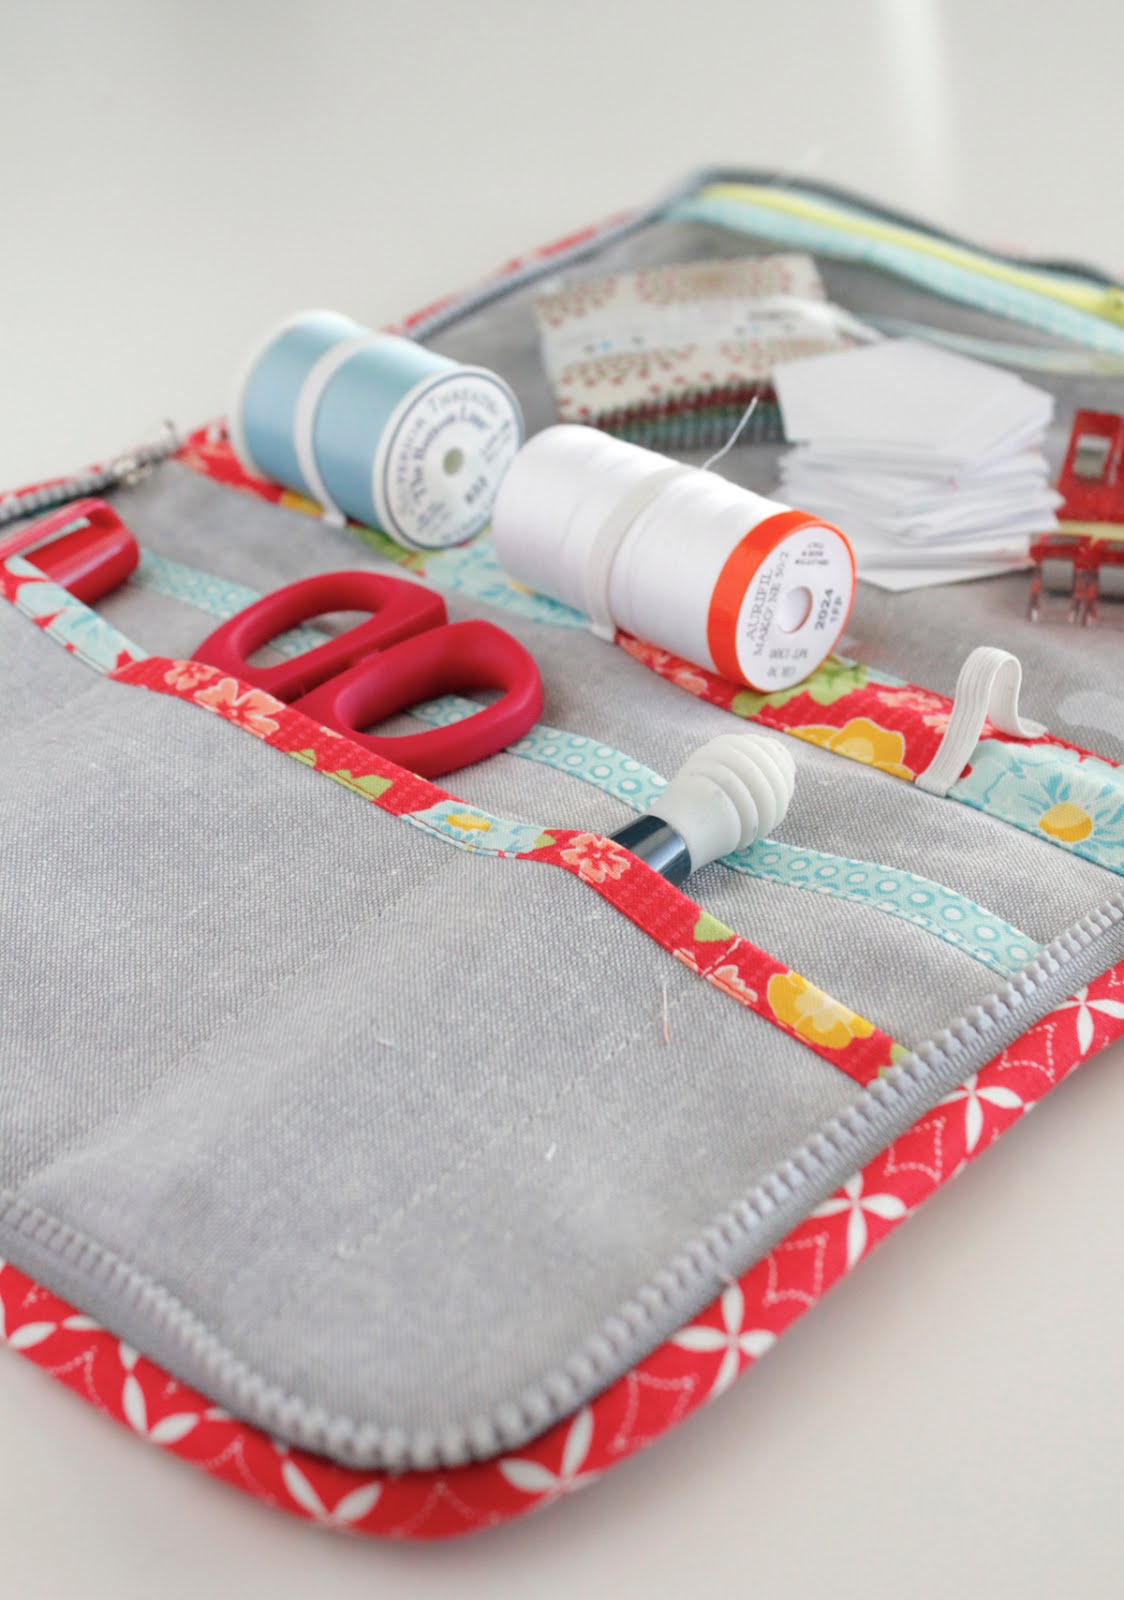
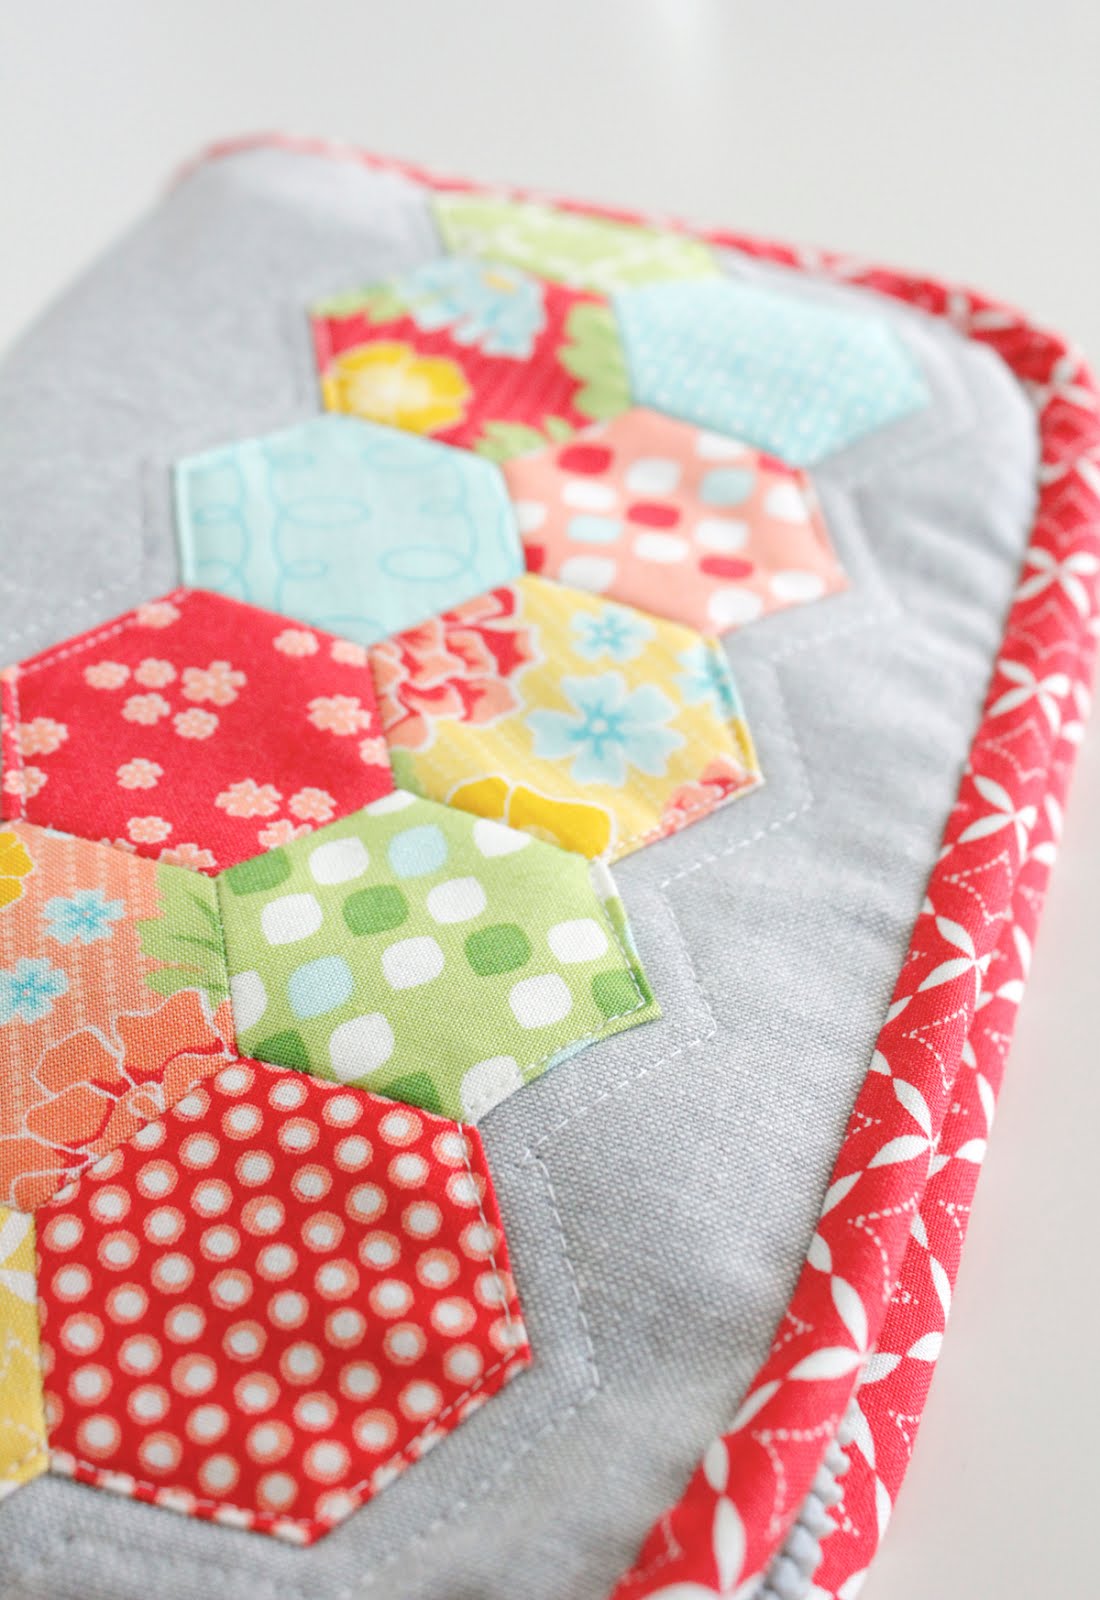
The case is designed by Melissa LeRay who blogs over at Oh How Sweet.  It's perfect for my EPP projects - but it'd be handy for all sorts of things (like a secret chocolate stash!)  I love the vinyl pocket on the right, and the elastic down the center for holding thread. 


Confession time:  when I first read through the tutorial I was completely intimidated by it, and I actually procrastinated working on it because I was so SURE I'd mess it up.  But I did just fine!  This is a well-written tutorial and I found it easy to follow.  Even for an inexperienced bag maker like me!


I had some scraps of Summerfest fabric hanging around and I wanted to use every. last. bit. of those pretty scraps.  This case was a great way to do it. 

Before starting, I took some time to customize the outside of my case.  I made these hexies and then glued them in place with some applique glue.  I then top stitched around them and did one line of echo quilting on the sides.  Then I followed the rest of the tutorial as written.  

Now that I've made one, I feel much more comfortable customizing my next one even more!  And next time I won't use a "sport" zipper - I'm finding this one difficult to close around the curves.  


You can find the printable PDF tutorial here.  And if you make an Oh How Sweet Zipped Case, be sure to tag it on instagram (#ohszippedcase) so we can all see it too!


Monday, November 23, 2015

Fabric Covered Hexagon Wall Decor

hexagon wall decor 23

As promised – I’m back today to share with you how my weekend project went!  I had found these hexagon shaped cork tiles at my local Target store and thought it would be fun to cover them with some of my current favorite prints and use them to brighten up a bare wall in my quilting room.

fabric covered hexagons 2

It’s super easy project!  Here’s how I did it.  First of all you’ll need a pack of cork board tiles.  One pack comes with 4 tiles. 

Hexagon wall decor 1

You’ll also need a permanent glue stick.  I love this one from Therm O Web because it’s nice and wide, but any permanent glue stick will work.  Or a glue gun would work as well!

Hexagon wall decor 2

I used 4 fat quarters for this project, but you can use scraps as long as they’re at least 14” x 14”.  The fabric I used is from the “Folklore” line designed by Heather Rosas for Camelot Fabrics.

Trim your fabric down so that it extends beyond the hexagon by about 3/4” to 1” around each edge.  It doesn’t have to be perfect.  

Hexagon wall decor 3

Add a line of glue to one edge, fold fabric over, and press.  

Hexagon wall decor 4

My glue held well and dried fairly quickly so I was able to glue the next side immediately.  After you glue the first side, next move to the side directly opposite the first.  Glue that second side down, making sure to pull the fabric tight without stretching.  

Hexagon wall decor 5

Now that you have two sides glued, move to an adjacent side and glue that one.  Miter the corner by folding it as shown in the photo below.  

Hexagon wall decor 6

Continue moving around the hexagon gluing down the sides, mitering the corners, and making sure the fabric is pulled taut.


Hexagon wall decor 8
Repeat to make all four hexagons.  If any of your fabric is directional, just be sure it is aligned the way you prefer before you start gluing. 

Hexagon wall decor 9

The cork tiles came with stickers to use for hanging, but I wasn’t sure how well they would hold, or if they would damage the paint on the wall.  So I bought a pack of these handy Picture Hanging Strips.  They’re a velcro type of adhesive that makes it soooo easy to hang things without leaving holes in the wall, or peeling off paint. 

Hexagon wall decor 10

Because the hexagons are thin and lightweight, I only needed one strip to hang each one. You can see below how low-profile they are.  

Hexagon wall decor 12

Here’s the oh-so-boring wall before…

Hexagon wall decor 11

…and after!  Much better, don’t you think?  I love how they brighten up that spot.  And when I fall in love with a new fabric line I can easily switch out the fabrics!

hexagon wall decor finished


Wednesday, July 22, 2015

Swim Bag Tutorial

Swim Bag tutorial

Hi everyone!  I’m just stopping by today to let you know that I have a tutorial for this quick and easy Swim Bag over on the Thermoweb Blog.

  Swim Bag tutorial using DecoFoils

I found this pre-made backpack at my local JoAnn Fabrics (they also had two other colors) and thought I would personalize it with some fun DecoFoils. 

Swim Bag tutorial

The DecoFoils are sure fun to play with and they make it easy to add personality to everyday items.  Go check out the tutorial here. 


Related Posts Plugin for WordPress, Blogger...